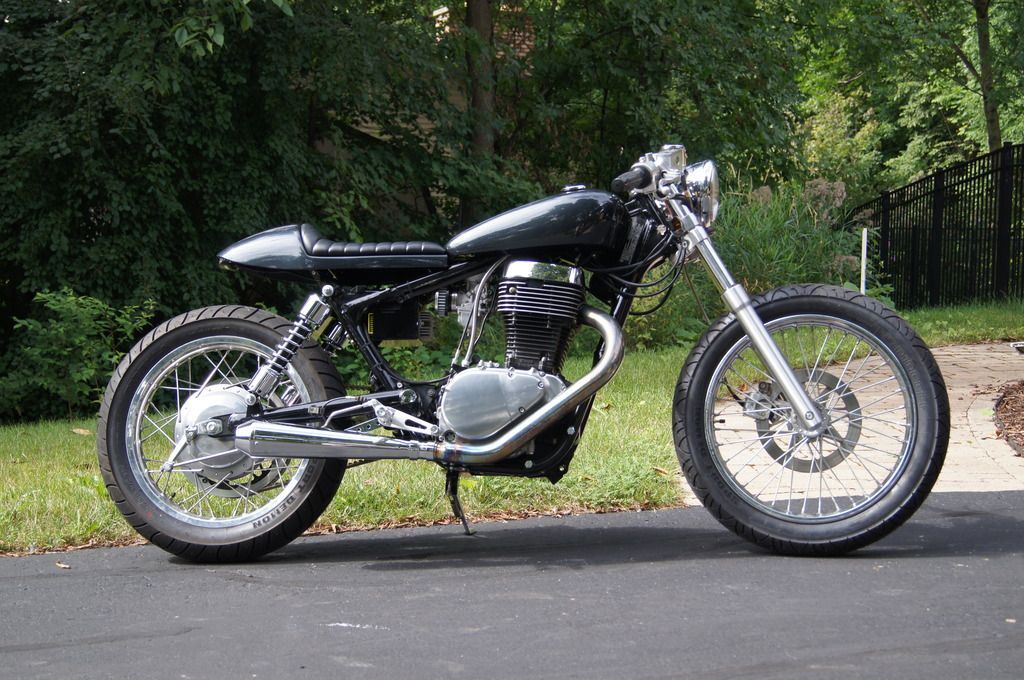
I finally got the bike out this weekend. Man did I miss riding.
Overall first impressions:
The bike is surprisingly smooth at 50-60mph.
70mph isn't surprisingly smooth.

It's crazy how much of a difference a couple mph / rpm makes.
The seating position is pretty comfortable for me.
The seat could use just a little support.
The front wheel seems really far forward. It's probably because I'm just used to having a fairing there blocking the view of the actual tire.
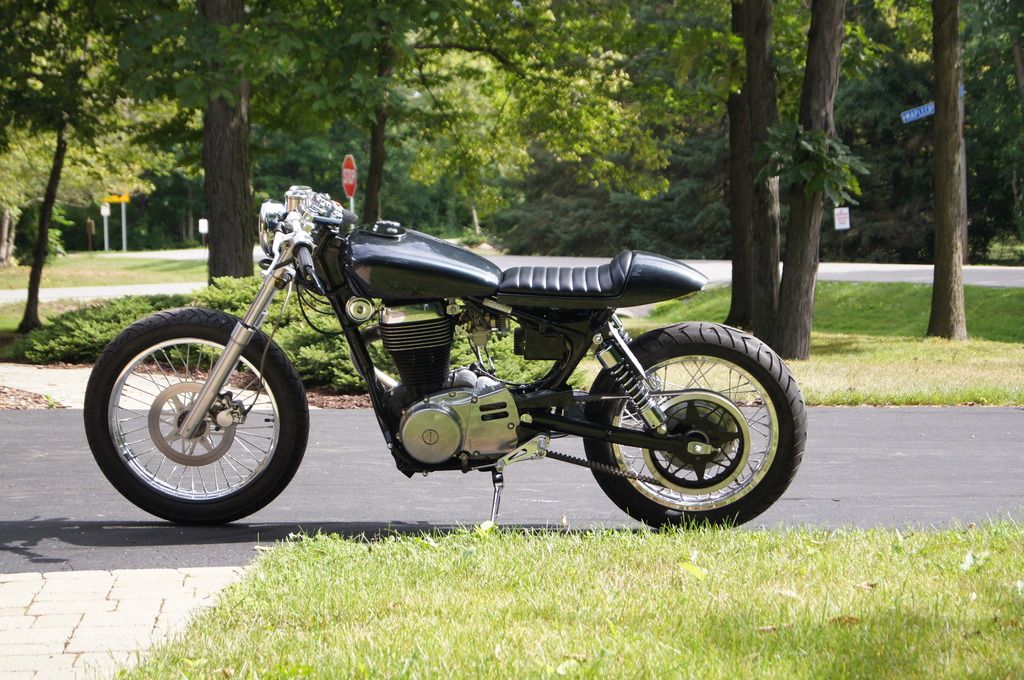
I'm going to need to check over all of the nuts and bolts again to get some peace of mind.
I still don't have the nuts on the seat / tank bolts. I noticed with the bikes that use the side covers that the seat pan actually gets notched...which would give access to the bolts. I'm not using those though so I'm struggling with getting those nuts started. I can squeeze a wrench through there to tighten them down after that...but I can't seem to get them started. I'd rather not have to notch the seat or move it back too much just to get access to those. If anyone has any tricks that they know of I'm all ears.
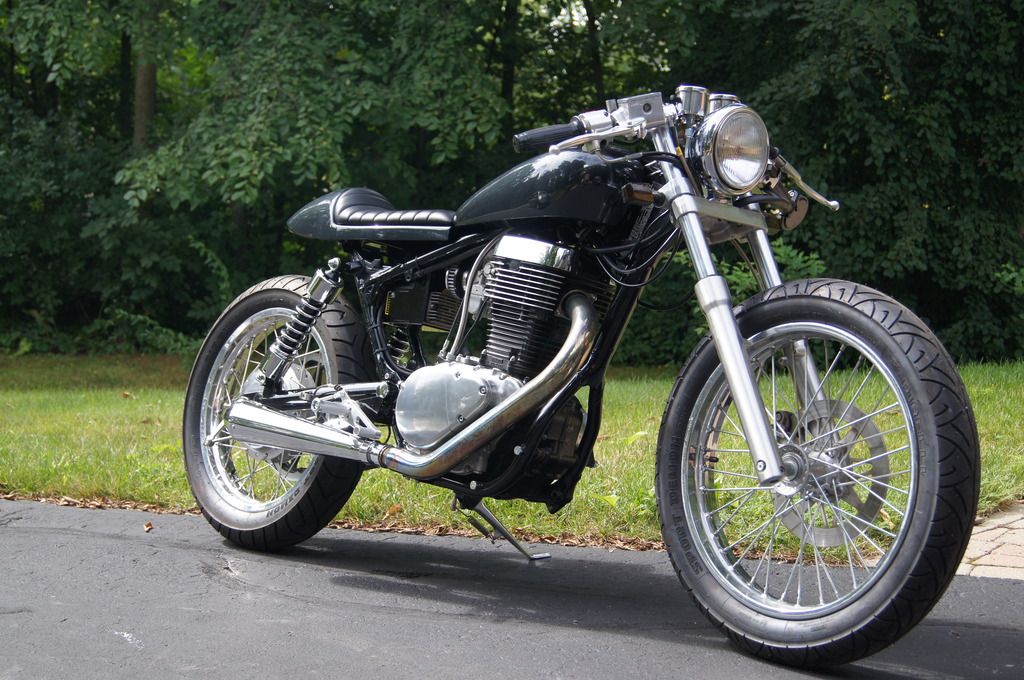
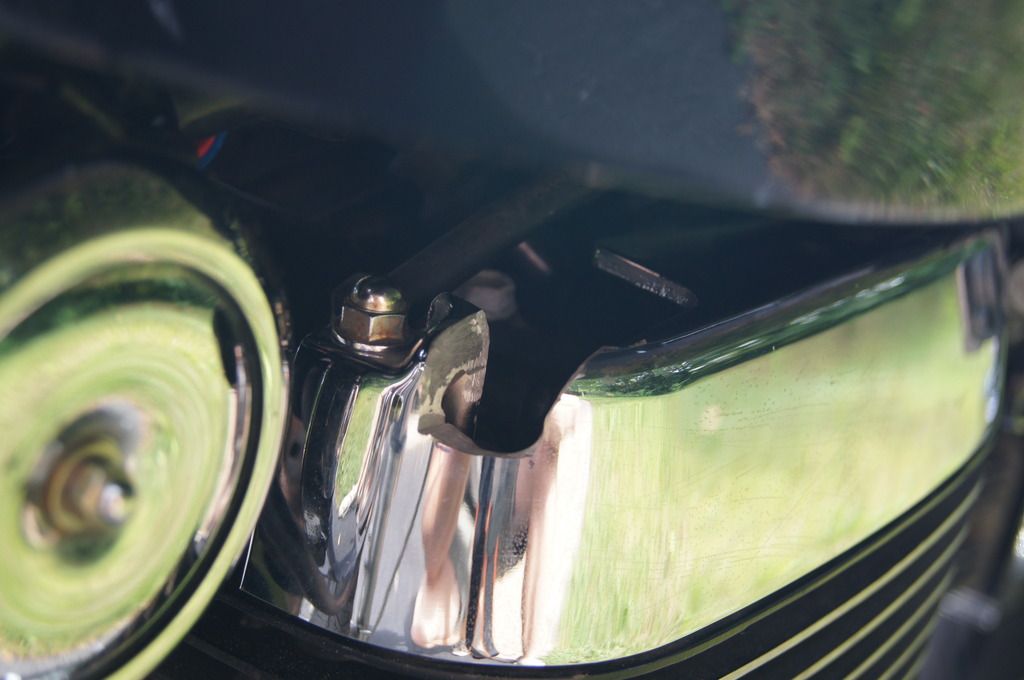
I decided to put the chrome engine shrouds back on the bike because I think it gives it a cleaner look. To get the left side one on I needed to disconnect the decomp lever (foot actuated). I forgot to tighten that all back down and it managed to rattle loose at the foot pedal within about 5 miles. I'm guessing that the e-clip actually worked its way off because I'm not sure how it could have rotated enough for the threads to come undone. Unfortunately the u-joint fell off so I have no decomp right now. Just how much extra wear does this put on the starter? So far it's starting fine and doesn't seem to struggle at all.
Dave - I'll take you up on trying out some different baffles if you want me to. I don't weld myself but I have a couple friends that do. If you just have some ideas that would be easier for me to get fabbed here myself I'd try that out too.
Things I still want / need to do:
Attach the seat and tank. It just seems like the safer thing to do.
Add a little color. I'll probably start with some orange grips since that seems fairly cheap and easy.
Try out some different exhaust options.
Reattach the decomp lever.
Add some weight to the bars to see if it helps with vibrations.
Upgrade the front brake.
Maybe get a fork brace.
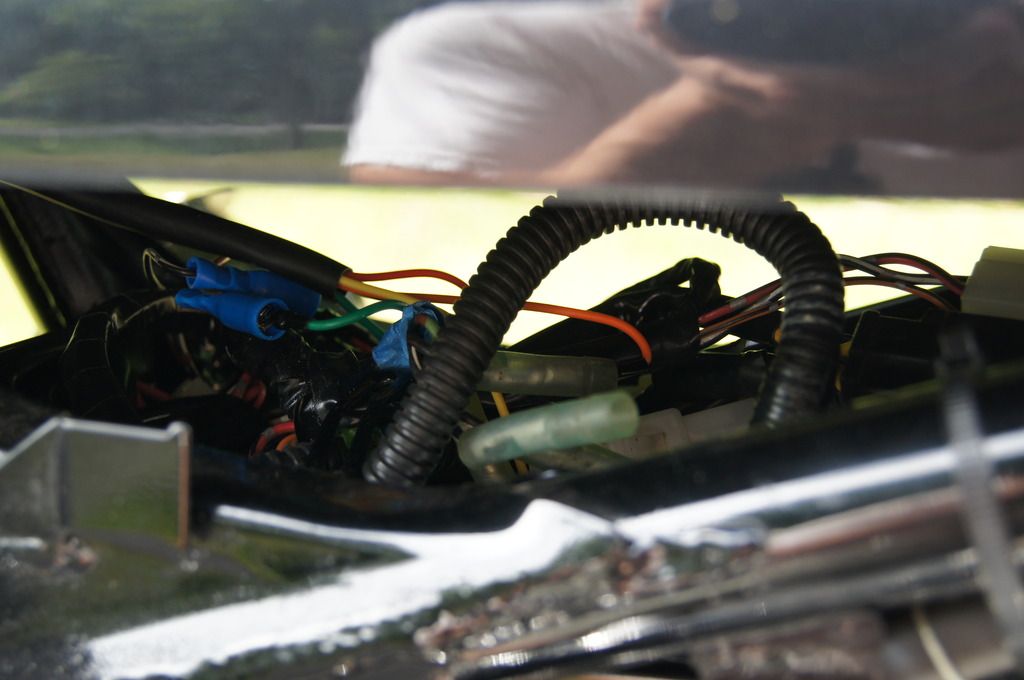
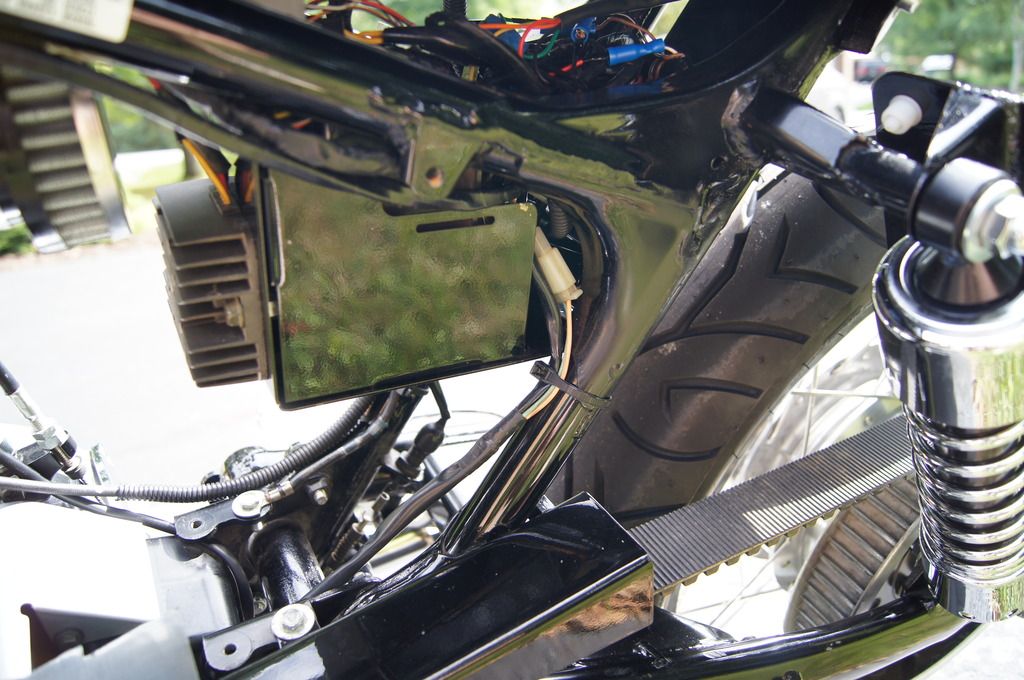
Hide wires
Notch for the decomp lever.
Wires that need to be cleaned up.
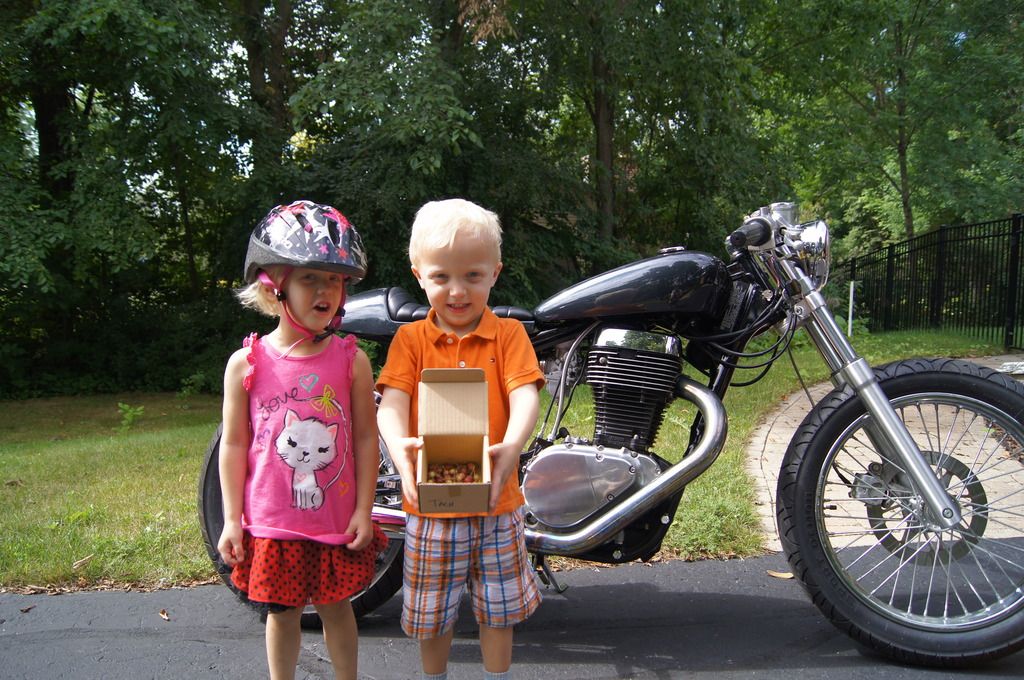
My helpers. (proud of the "apples" that they picked up while I was doing the last couple things to the bike)

 Pages:

