I was holding off on posting anything because I hate to wait for people to make updates, so I figured most of you may be similar.
But I couldn't hold off any longer. I expect ill be driving it by next weekend and then all it will need is a paint job. So here is the work up till where I am now.
I tried a few different things than normal and am building it how I want so if you have any questions post them here. I missed taking pictures of quite a few steps but this should be generally close to the process I went through. (The following pics may be too big, I may have to edit this a few times)
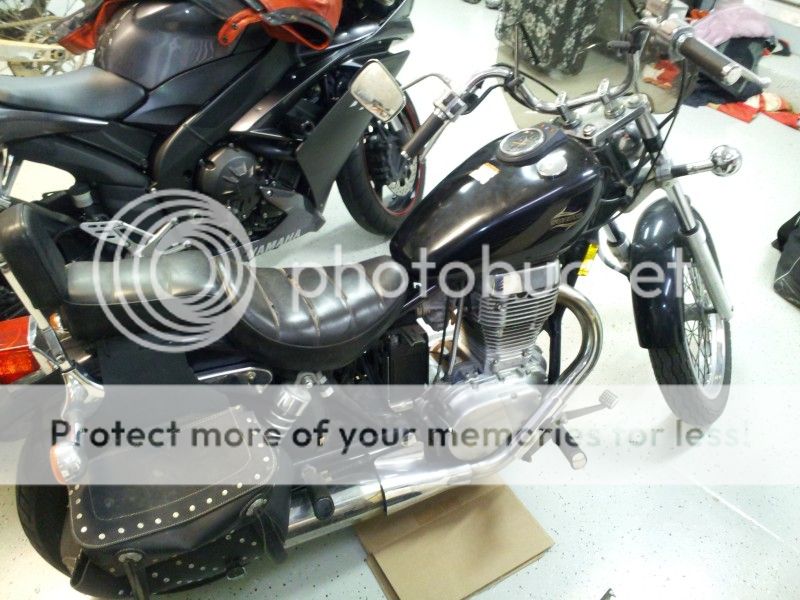
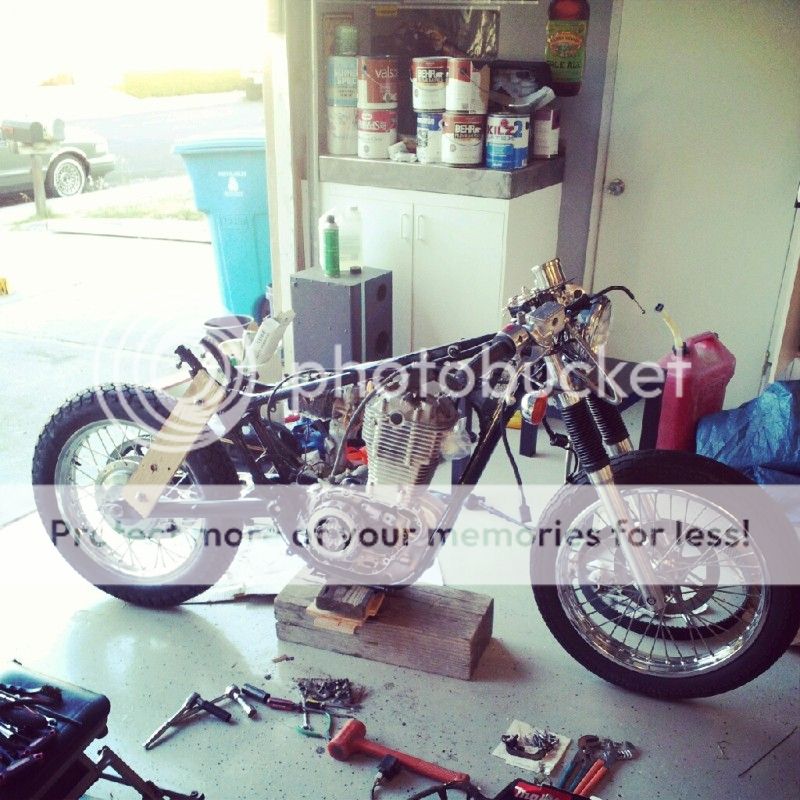
1. This is how the bike started. It was really beat down and not really my style. The guy who had it before me knew nothing about bikes and did some goofy stuff including fitting 6 or so quarts of oil in it.
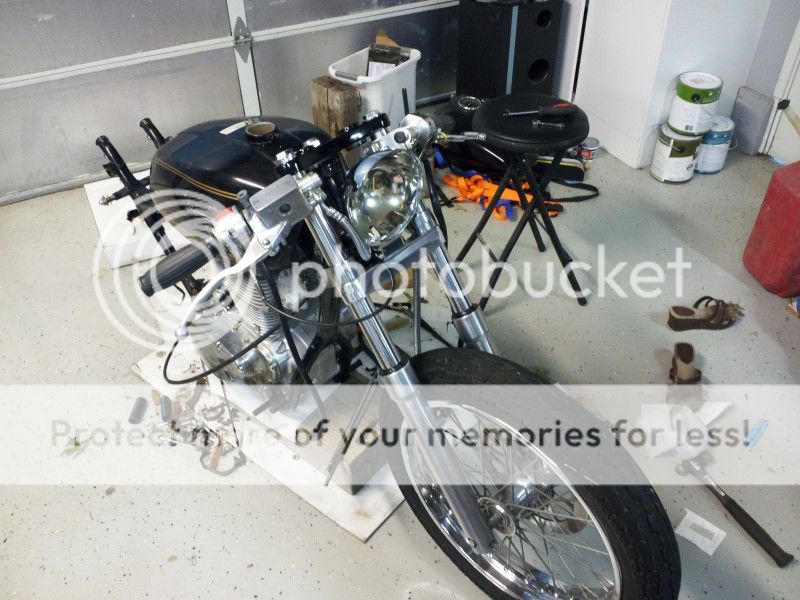
2. Tore it down and started seeing where I was on the maint on this bike. It wasnt too bad. I polished the forks and triple clamps, lowered them and installed clipons. The clipons were 7/8's so I had to so some shimming for the 1" stock controls.

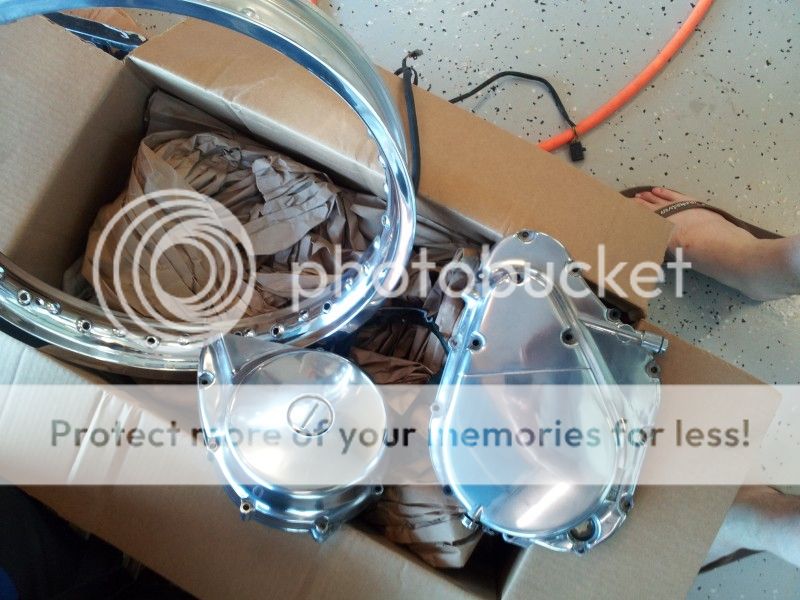
3. While I was waiting for parts to come in I polished some items. The side covers and this rim. I ordered a aluminum rim and it came unpolished. What a pain.
4. Next some parts came in and I wanted to keep working while waiting for the other parts so I made a custom rim for sizing the shocks and swingarm clearance. Nice eh? I also replaced the clutch and cleaned up the motor a bit.
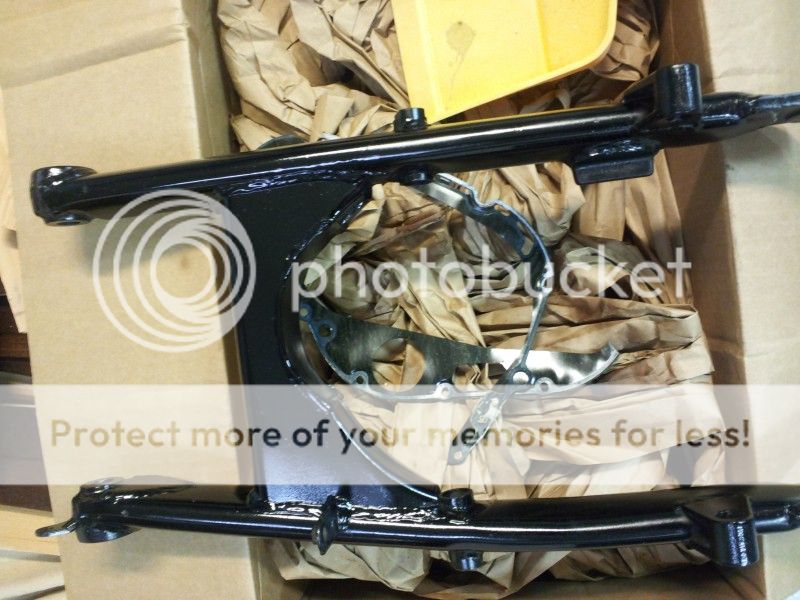
5. I had to modify the swingarm to fit the new tire.
6. I repaired my plunger. I think I was at 21mm and starting to look wobbled.

7. Finally got my spokes in so I laced the wheel and mounted the tire. This is a much better fitting lacing pattern than some have used.

8. Once the swingarm and tire was complete I couldnt wait for the shocks to come in so I made a temporary hardtail setup to continue on.
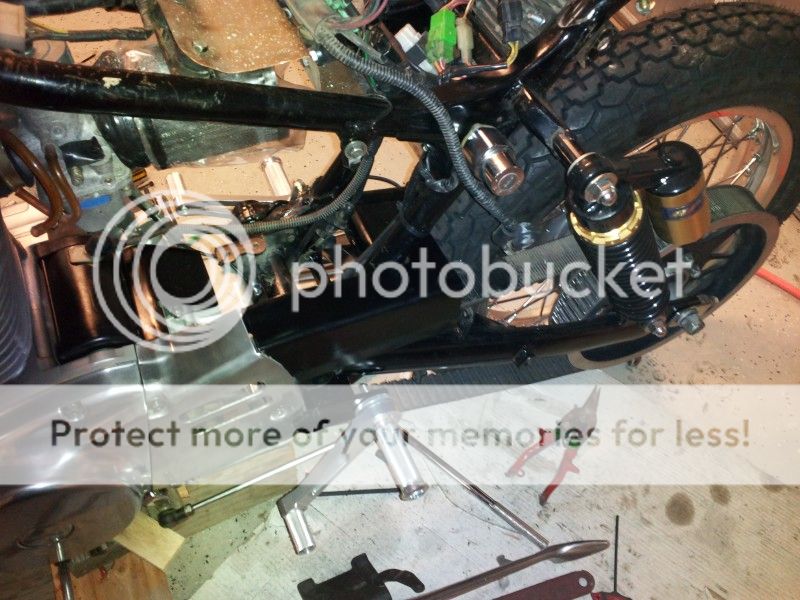
9. The shocks showed up and this is how the back wheel looks with the spoke pattern.

10. This one was kind of ongoing. I installed one gauge and then the other then I mounted those LED's on the side to act as my turn signal indicators. They work pretty smooth.

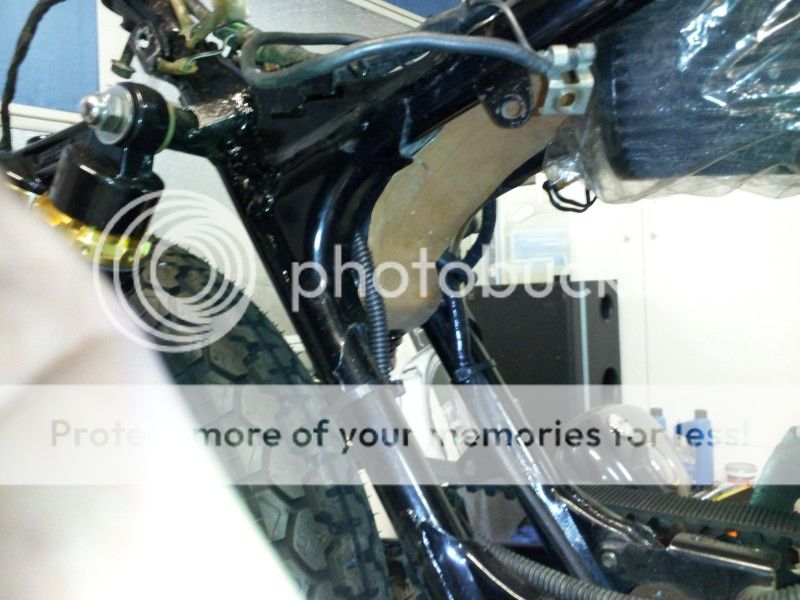
11. This is what was needed to mount the tank I was using. I welded the stock mounts to a peice of 32nd plate and screwed it to the frame. I dont show it in the picture but I fabricated a piece at the base of the tank that supports the stock tank rubber pad and it attaches at the bottom with the stock rubber clip from the tanks.

12. I made up this chain guard pretty quickly out of sheetmetal. I didnt like the way the stock one looked, even if I cut it up.
13. This is the pipe I went with and you can see the custom brake linkage setup I created. It is a hard line to the pivot point, then a hard line back from there. It is leveraged so a small amount of movement at the pedal amounts to almost twice as much at the brakes. It also has a stop built in so you dont have the pedal come all the way back like most hard line setups.

14. This is my battery box. Everything including the battery is housed in that little area. I was making a template out of some copper i had laying around and ended up liking it so I just used the copper.
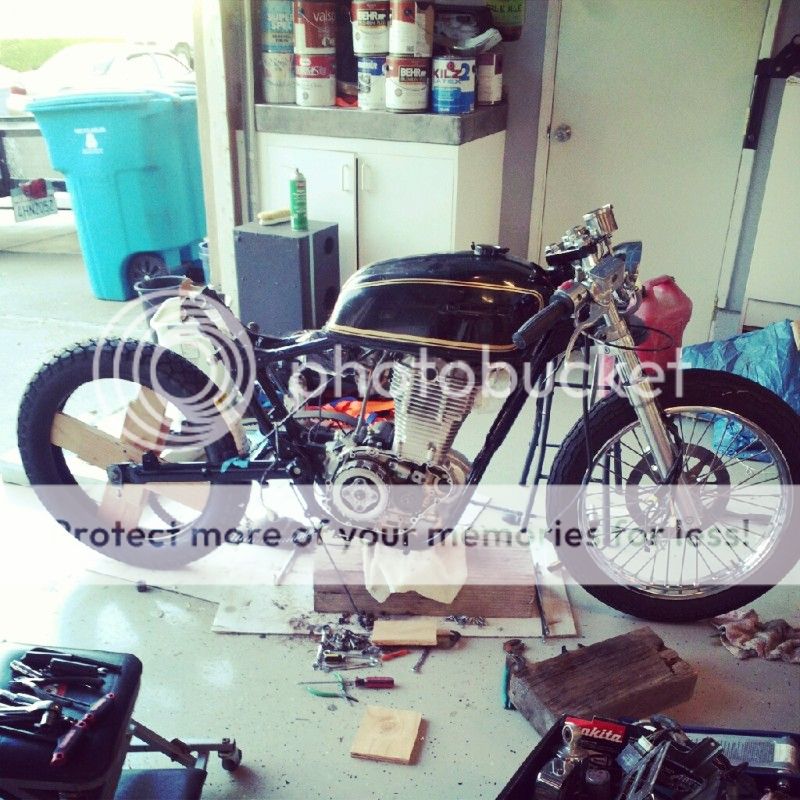
15. At one point I threw the seat and tank on there to get a feel for how it looks. The second pic has the seat pan held in place with a C-clamp. Its just fabbed up and I need to finish it.
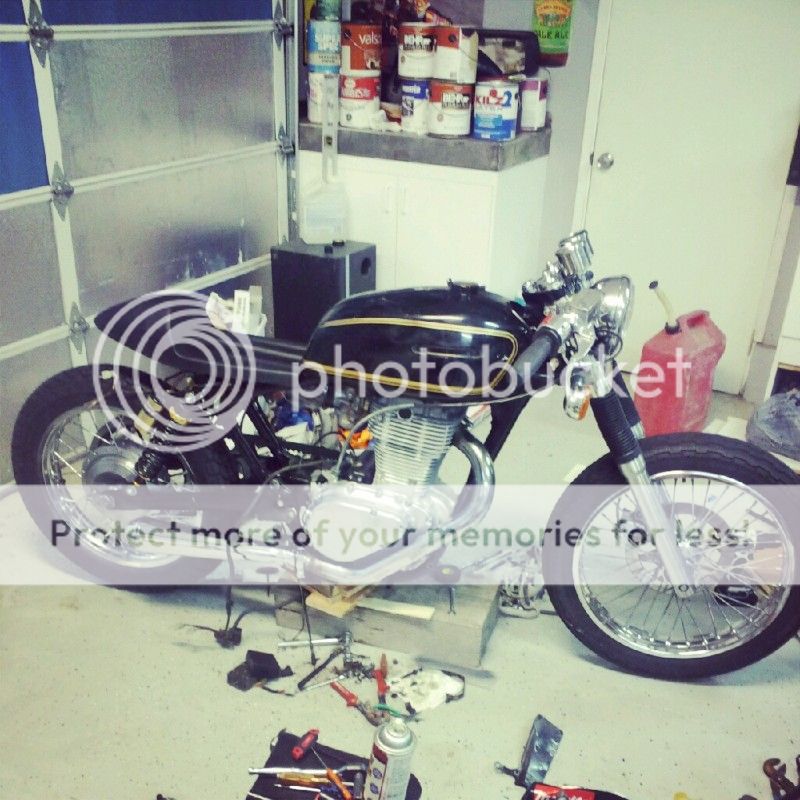
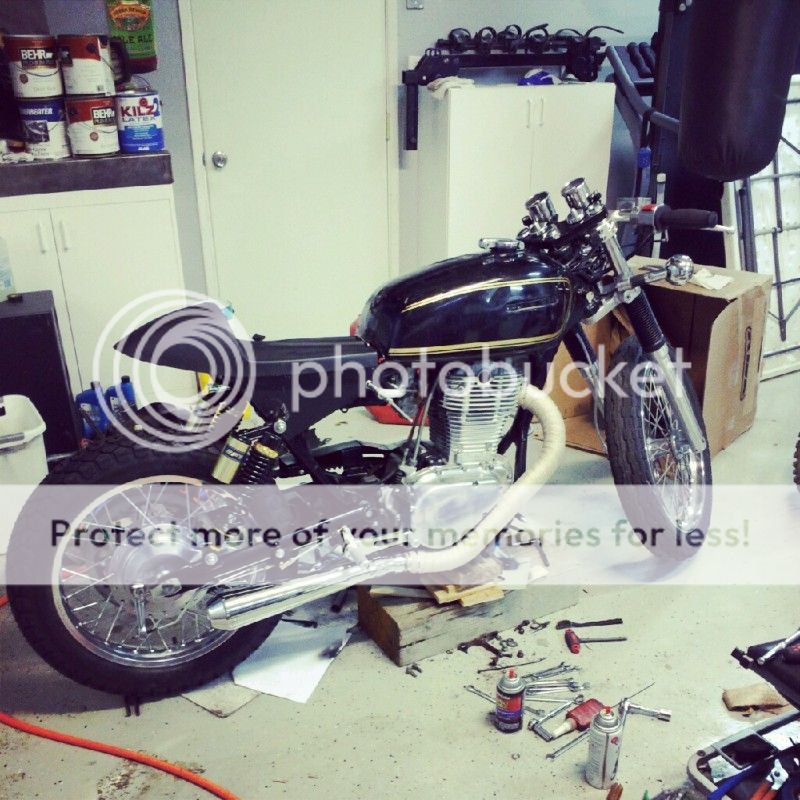
I also cleaned up a lot, trimmed tabs Im not going to use and made up new cables for the clutch and throttle. Ive fired it up and its running good with that tank installed. I still need to mount a kickstand that I took from a Vstar, finish the seat pan, make an upholstery pan and then upholster it.
I was going to paint a Tan with red and blue scheme a al Steve McQueen, but this black and gold stock job is starting to grow on me. I may just go with it.

 Pages: 1

