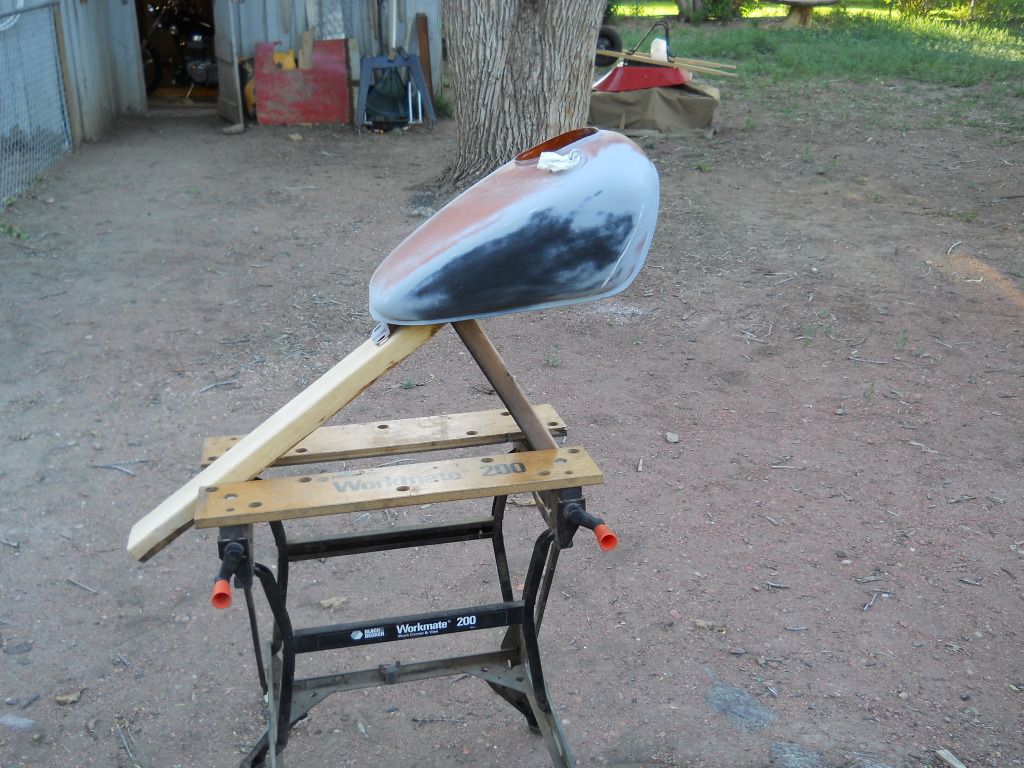
I started on my replacement tank today and thought the proccess might be of interest.
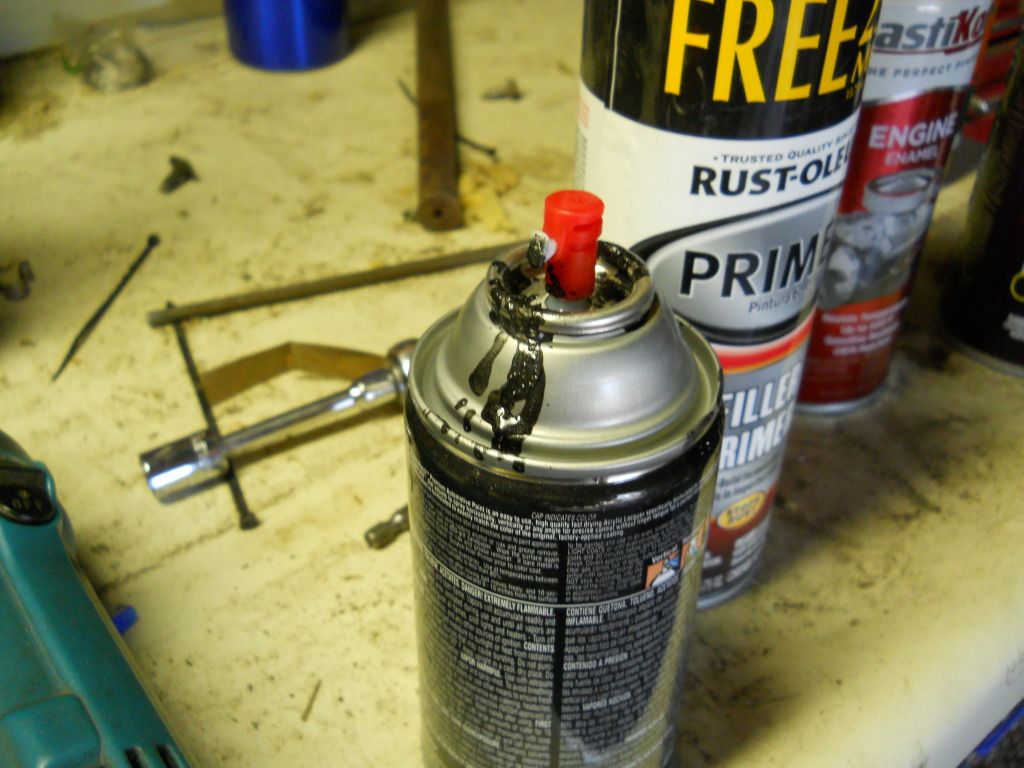
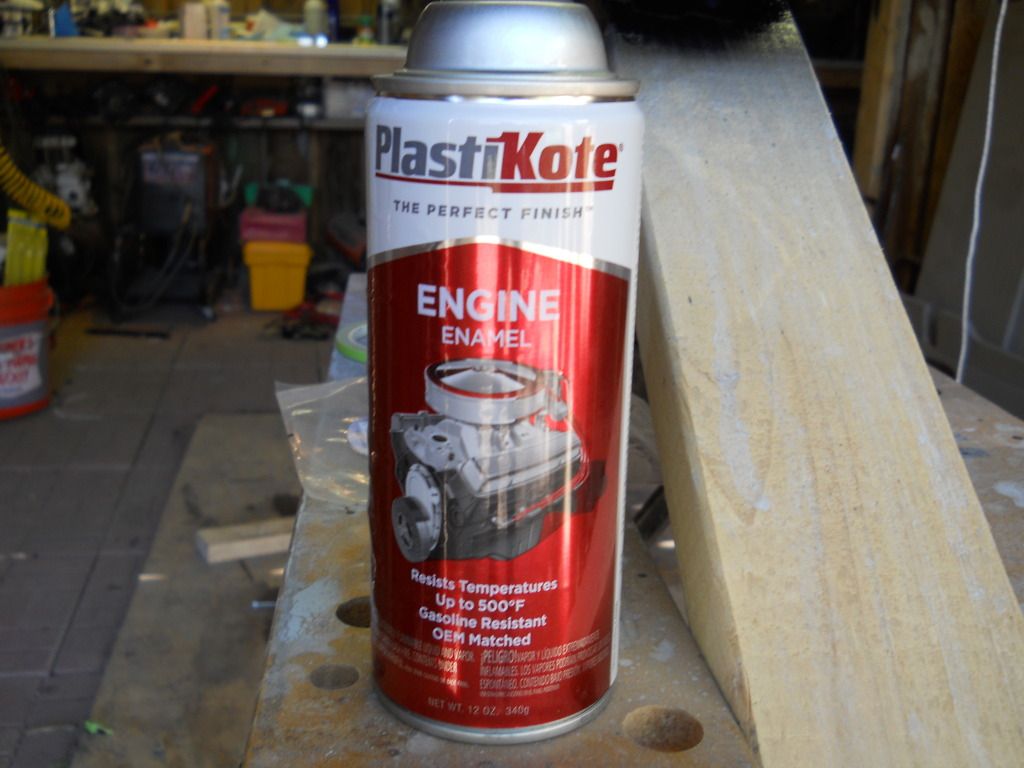
I gave up my spray equipment years ago and dont do enough to warrent buying it again so, I have my methods for achieving decent paint work with rattle cans, there are very few spray paints which can hold up to even the slightest exposure to gas, I found a couple clearcoats that will.
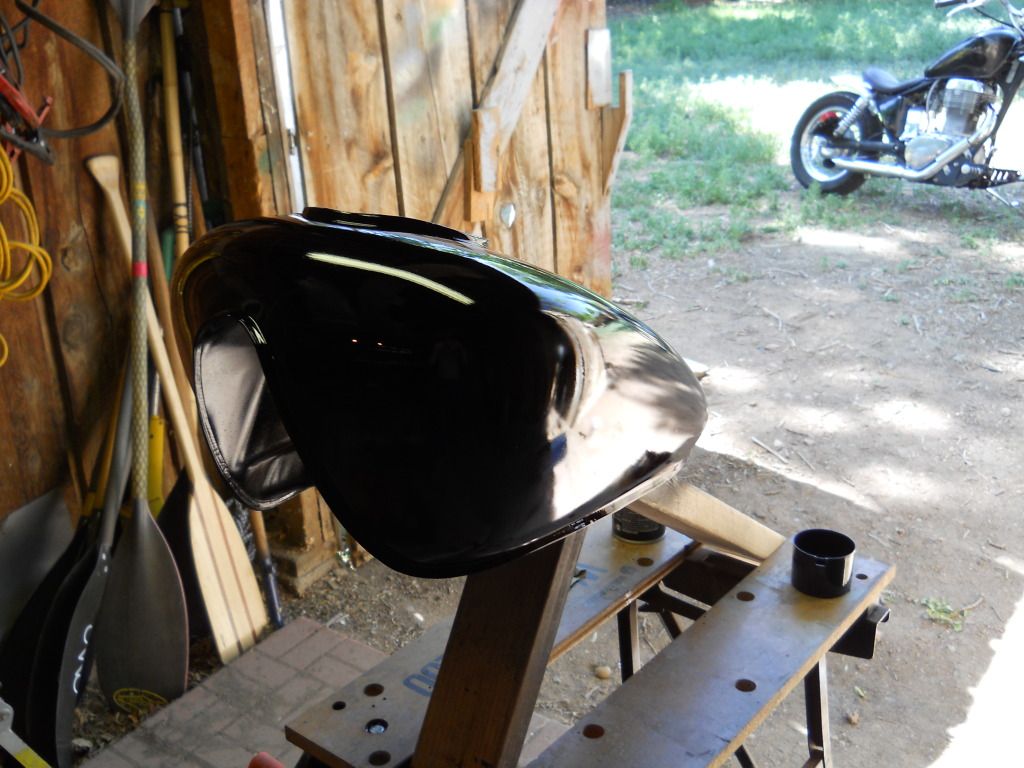
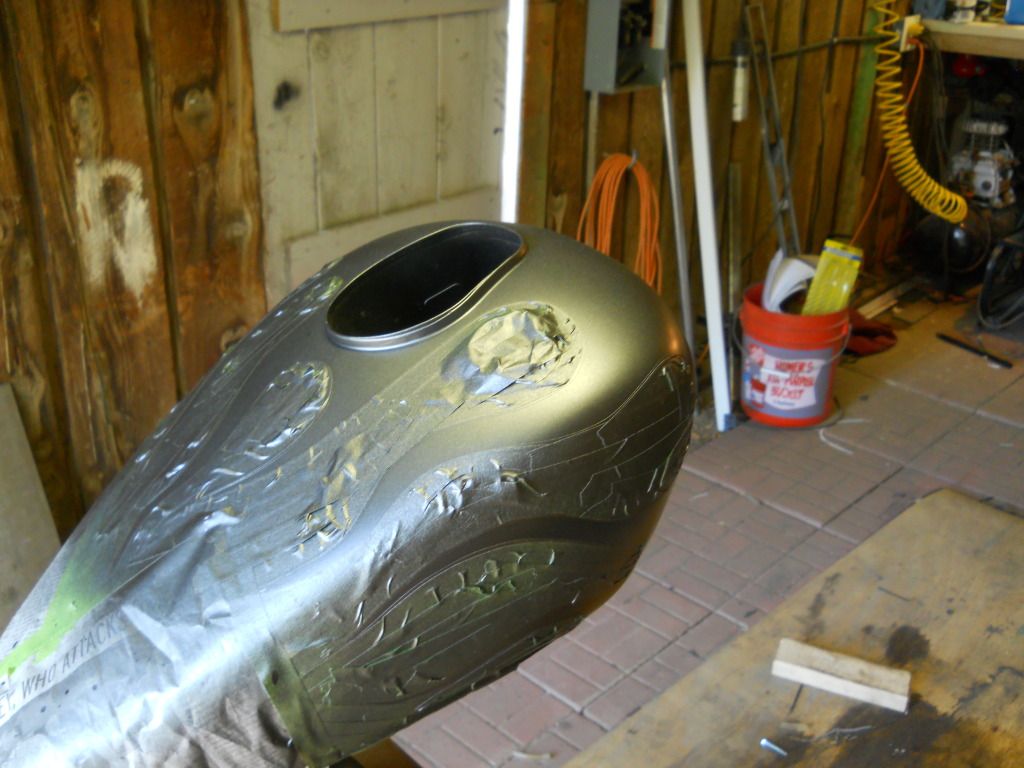
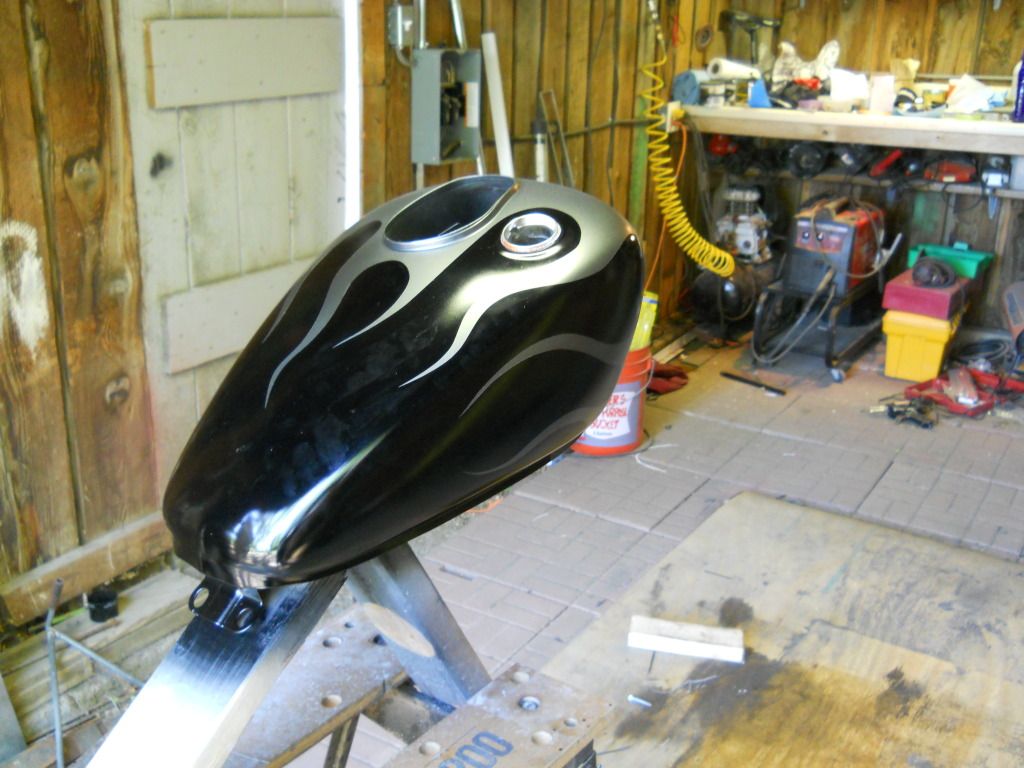
I Started by repairing a ding in the tank and wet sanding the entire tank with 220, this is a new tank with solid paint so its not necessary to remove the old paint. I built a quick ficture to hold the tank, this is important especially later when pulling tape.
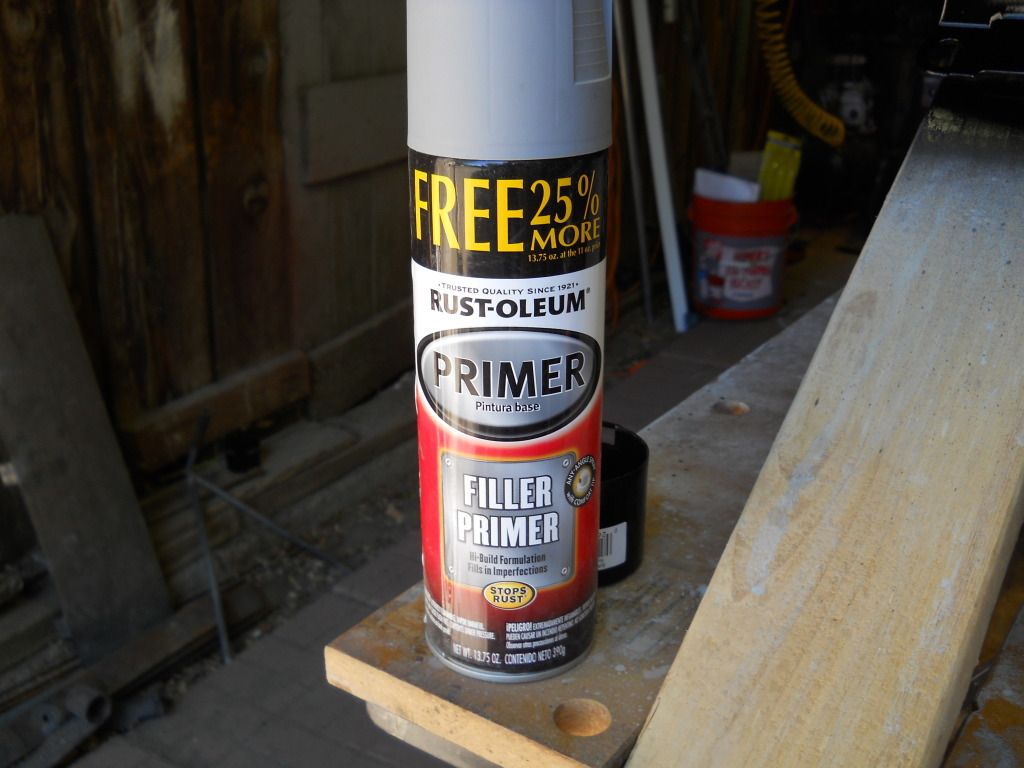
I use high build primer to fill minor imperfections and sanding scratches, availible at Walmart
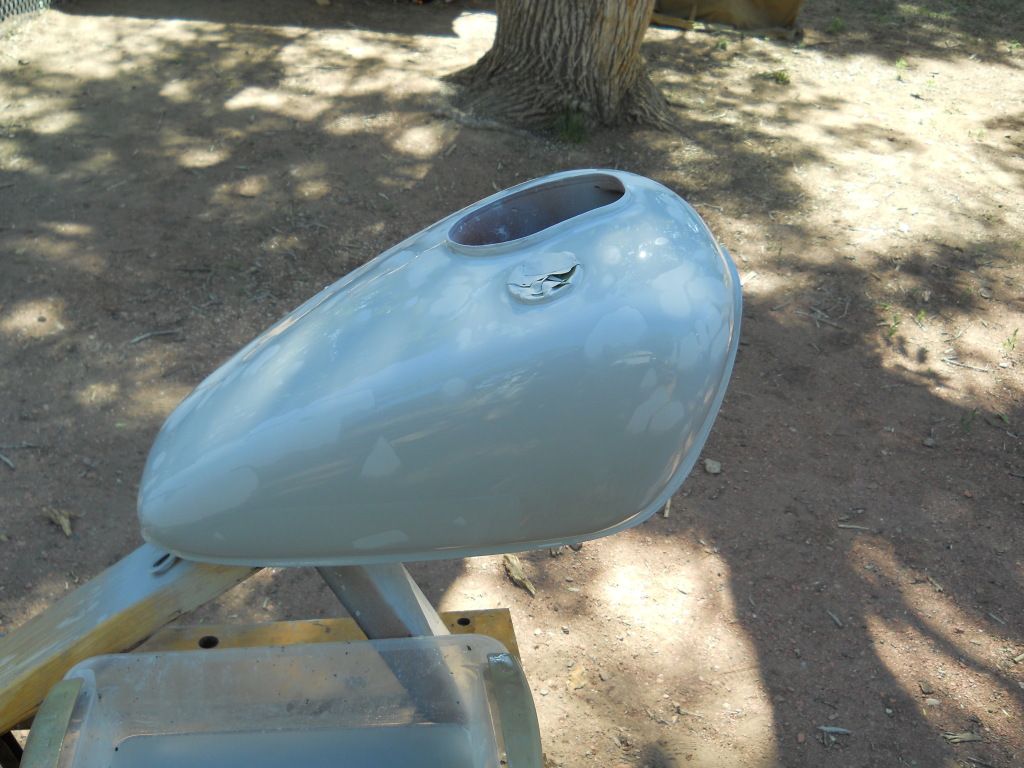
Spray the entire tank and then wet sand with 400 untill no imperfections show when the tank is wet, I also taped off the filler neck right down to the tank surface, i will only tape the top edge for the clearcoat ,this is so when the clear goes on it will seal the edge of the underlying color coats.
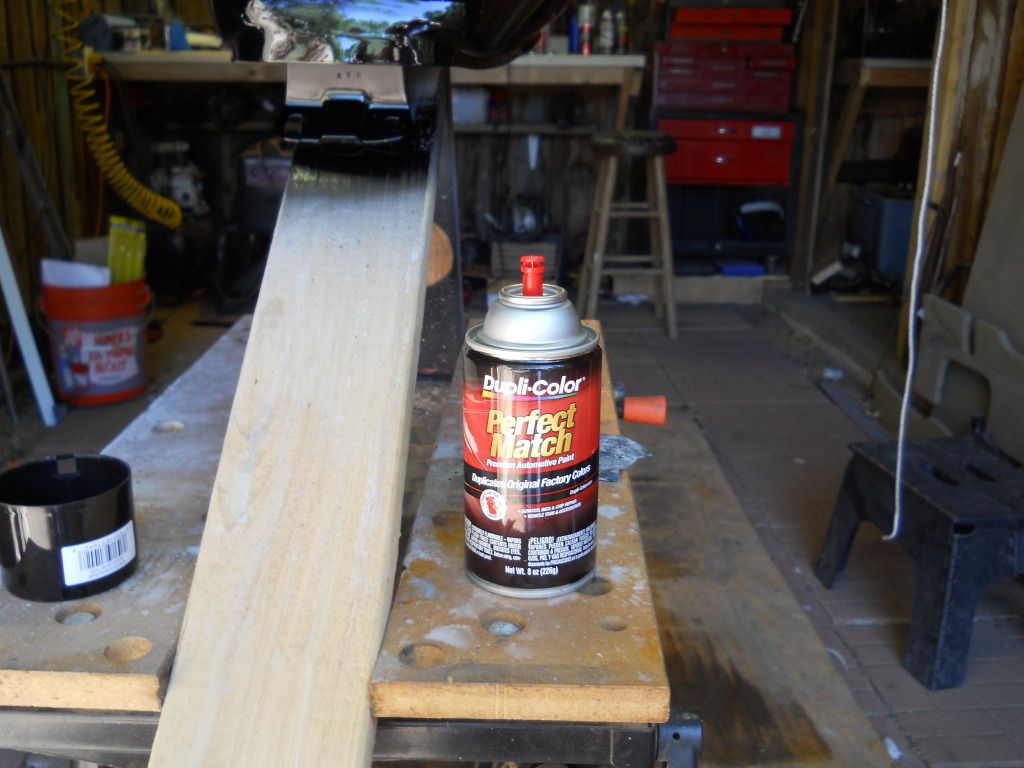
Now is the time to clean the tank with warm clear water, let dry completly , use a tack rag right before the base color and then paint the base, in this case black acrylic lacqure, ( my spelling is terrible

)
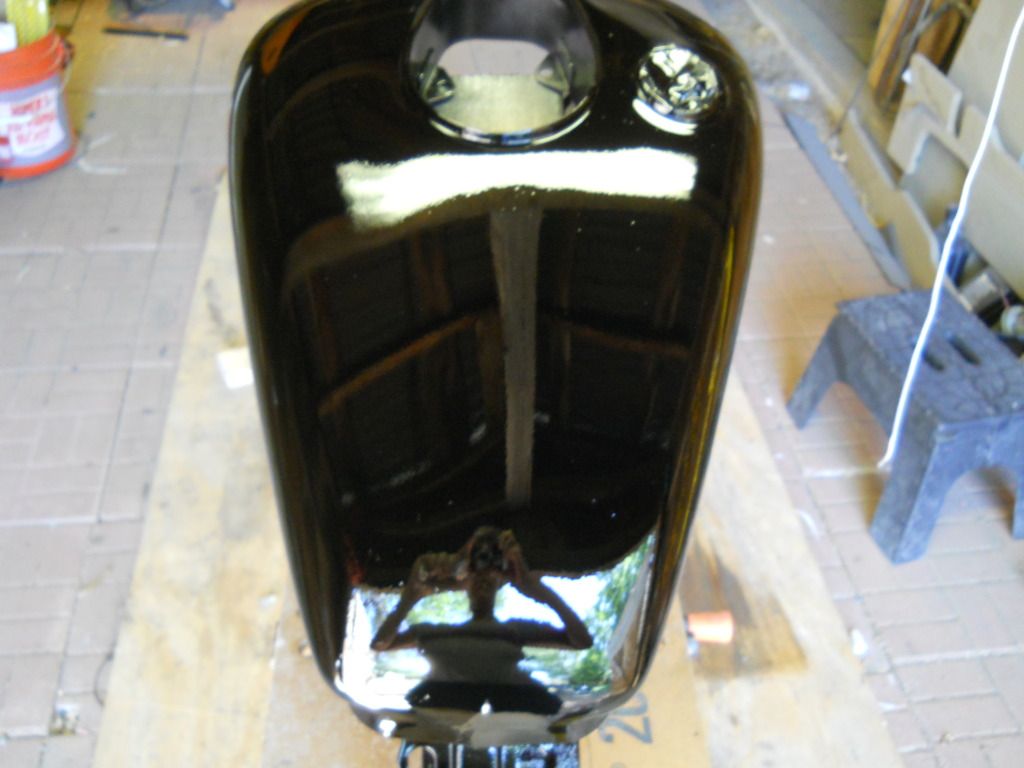
Notice my paint area is a dirt floor garage, some floaters will land in the paint but it will turn out in the end.
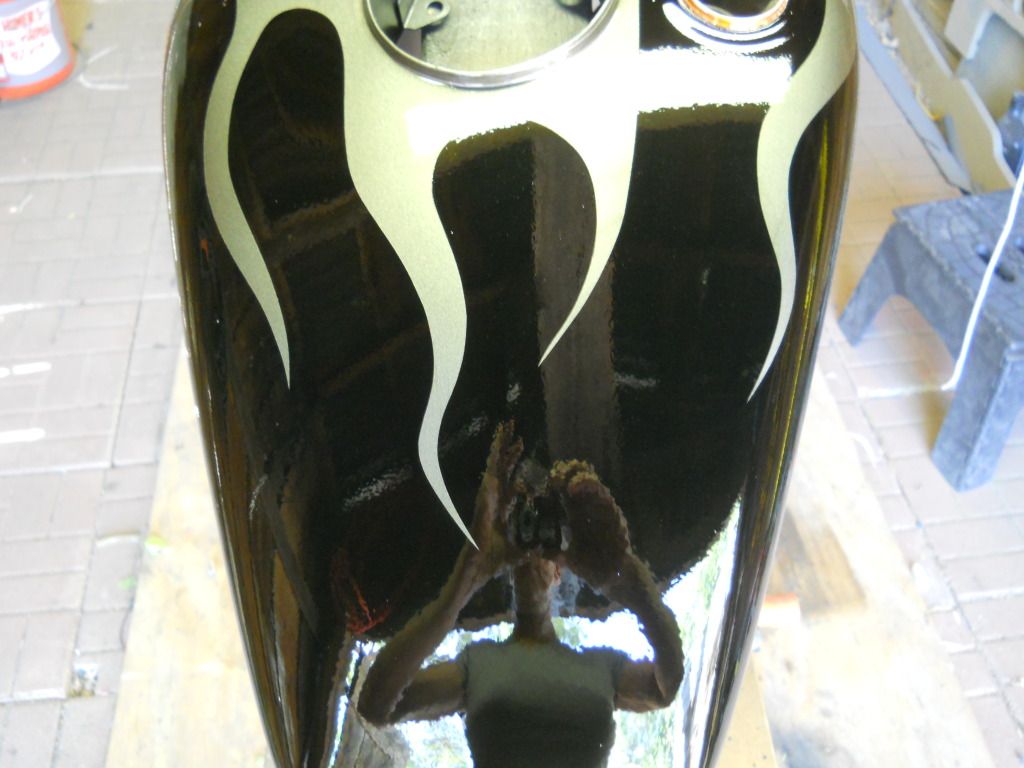
After allowing this to dry for 2 hours I use " Fineline tape" to lay out the design. it is important to start t one side and work your way around to the other side, each peice of tape should start overlaping the previous peice, this way when you start to pull the tape from the original starting place it will lift the edge of the next peice making it easy to get ahold of.
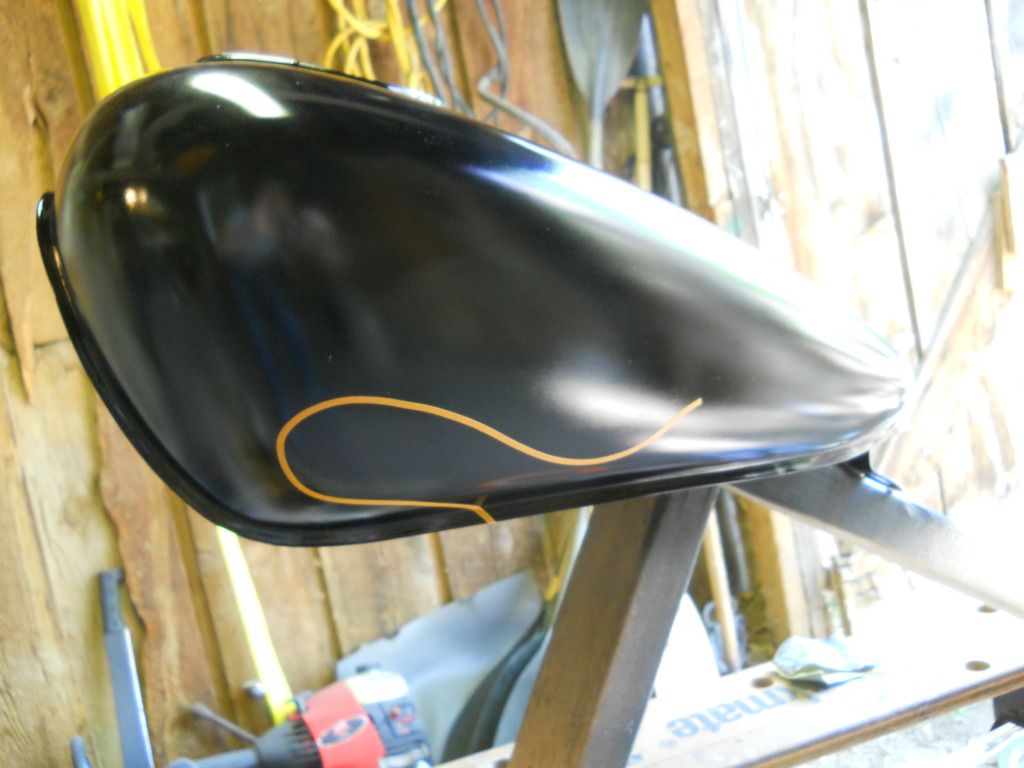
now that the outline is done time to mask it off, take your time , do the edges first then fill in the middle so again when you pull tape it is layed to come off as one peice.
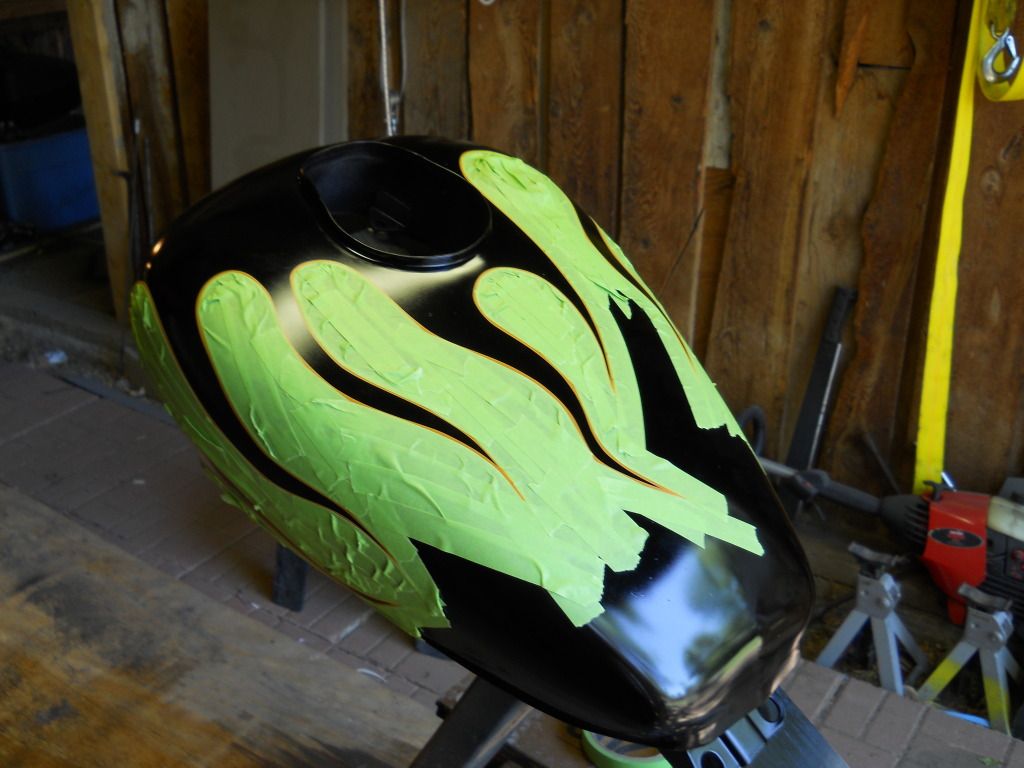
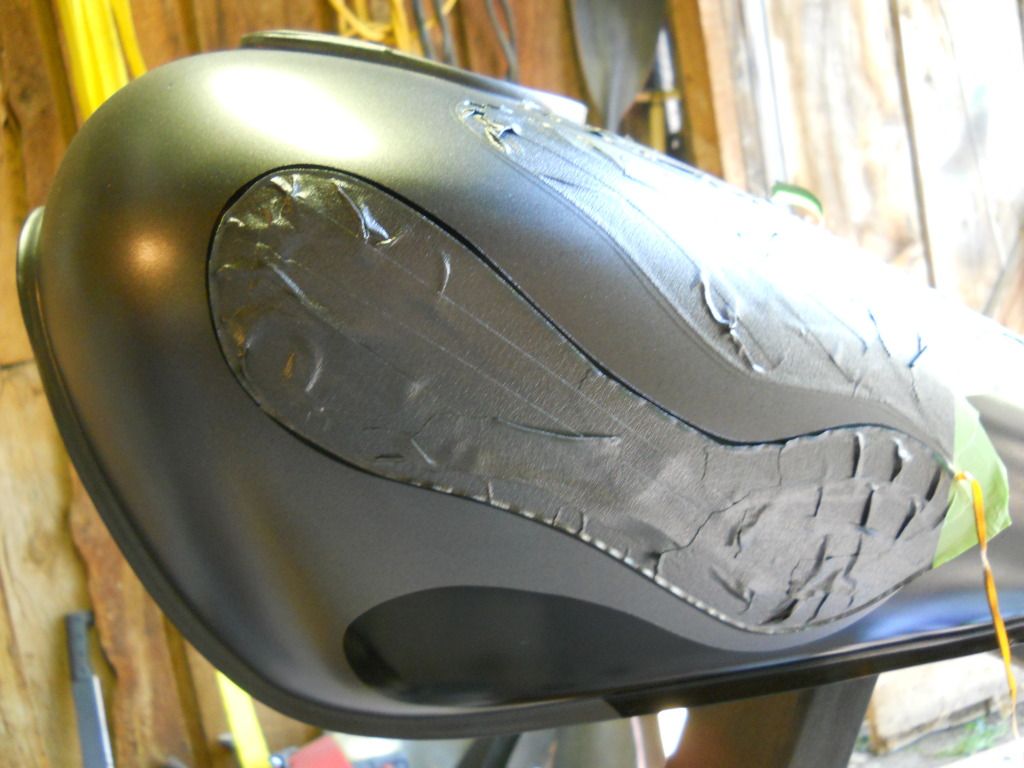
once its all taped off use the contrasting color and spray just enough to get
it a consistant color, you dont want to build up paint here as a hard line will show later
A word about spray cans here, NEVER hold the can over your work , a bad spray nozzle will drool paint all over your work
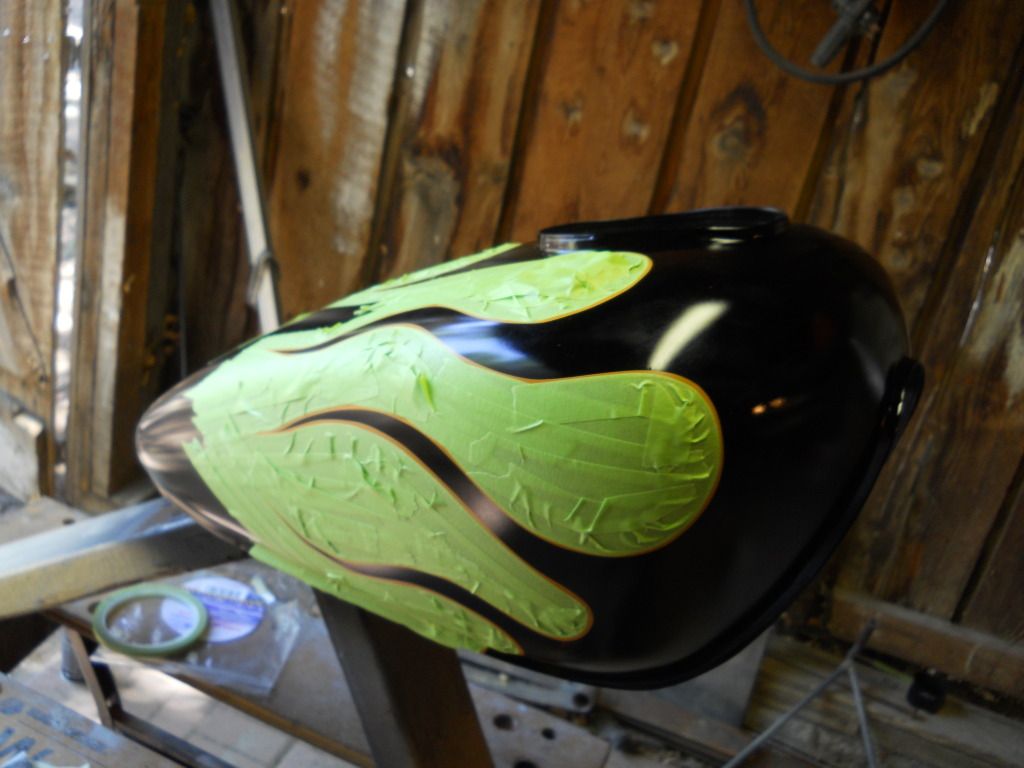
So, now the fun part, emmediatly start pulling the fine line tape from your original starting point
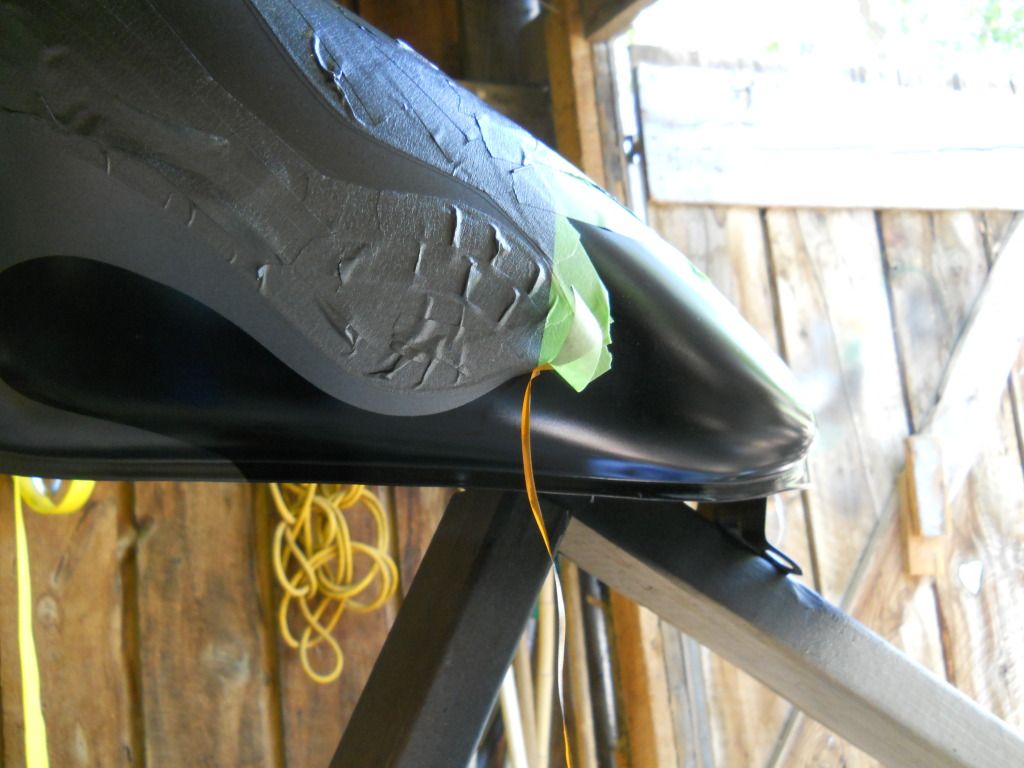
remover the making tape as you go from the area , you will notice the fineline I just pulled is under the next peice so I can easily get the next peice started without digging a fingernail into the base coat.
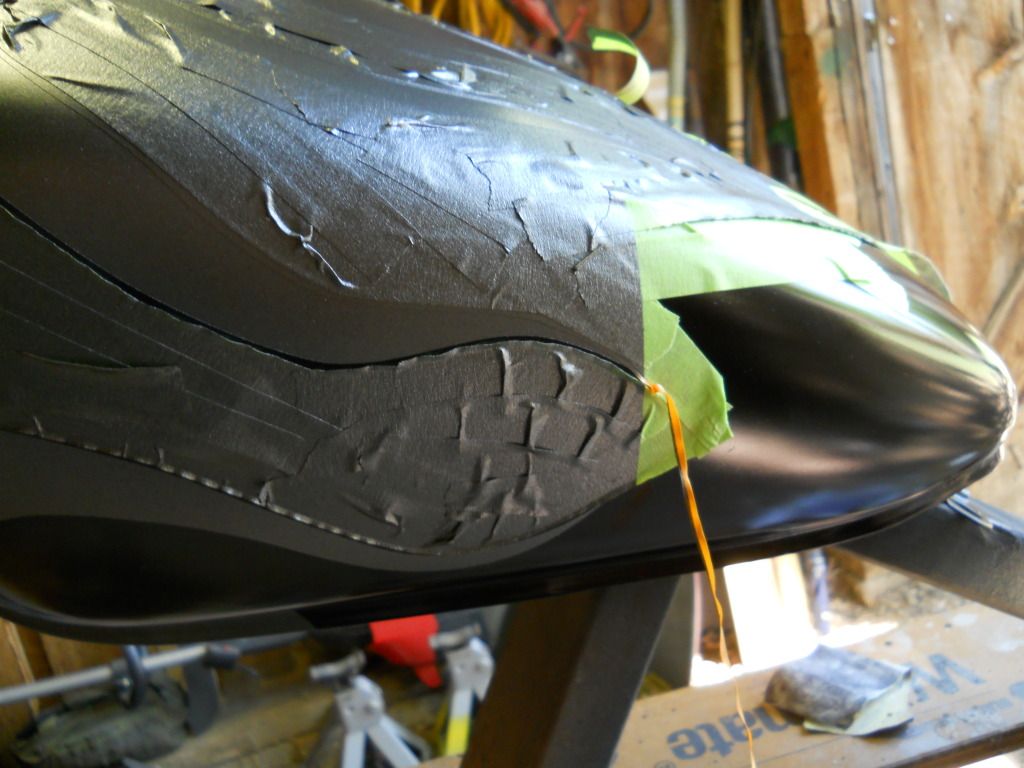
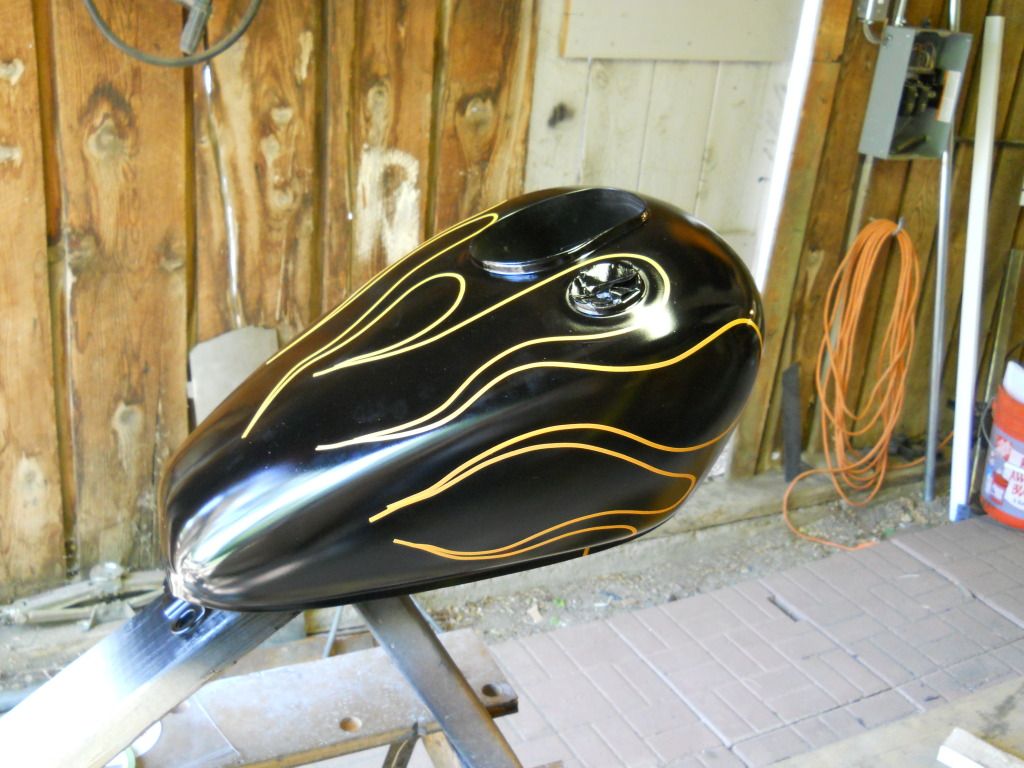
Tape removed , time to let it dry , I had perfect 75 degree temps and low humidity today so I let it dry for 4 hours , over night would be better.
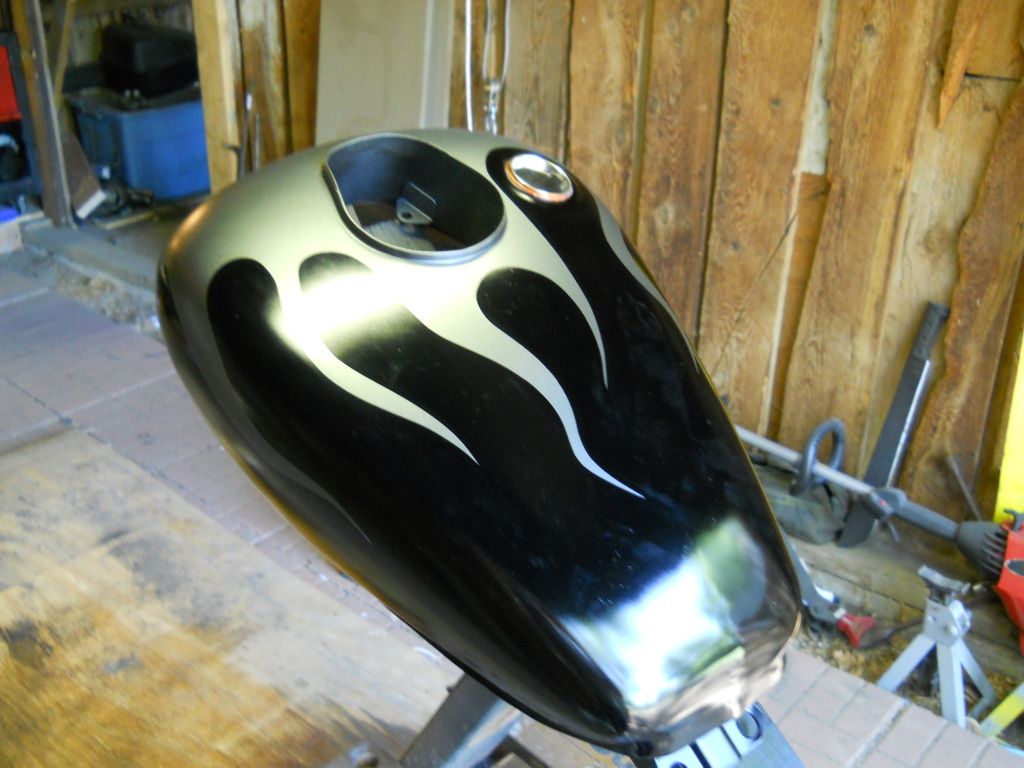
Now the part that makes the work worth it , I wiped down the tank with a tack rag and sprayed the clear, its important to keep the coats just completely wet but light and build up each coat, think about how to go around the tank so as little overspray for one area lands on an area just done. I keep going to let any overspray kinda melt into the wet areas, remember you want the clear to cover the edge of the color coats at the filler neck, the clear is the only gas protection.
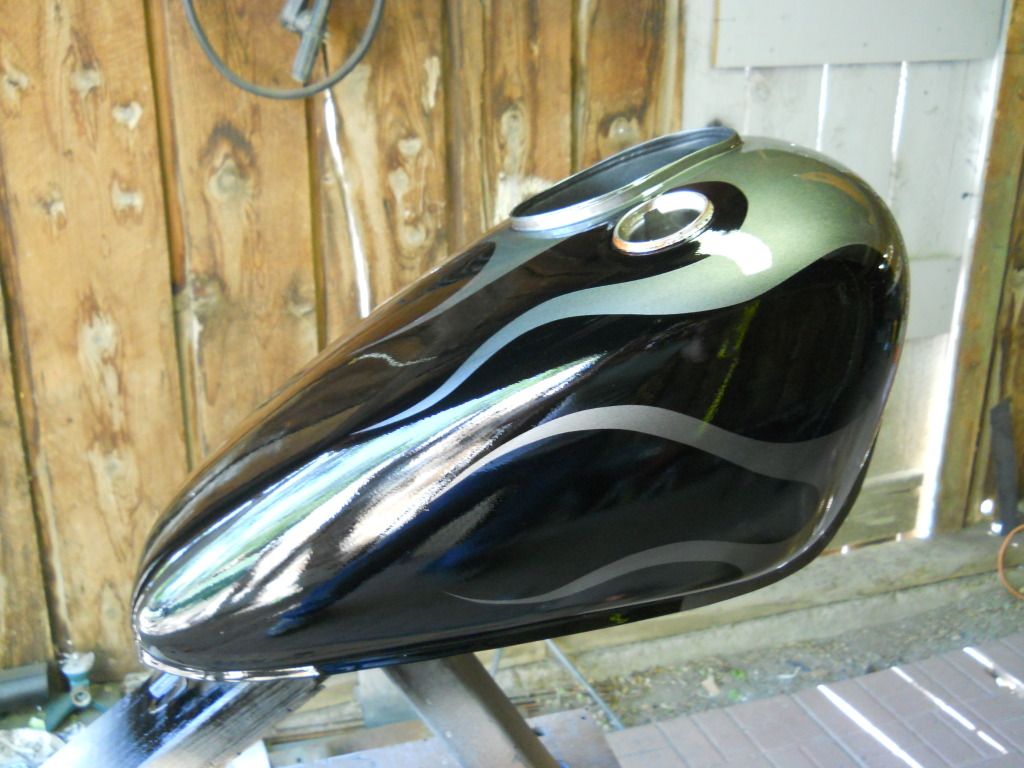
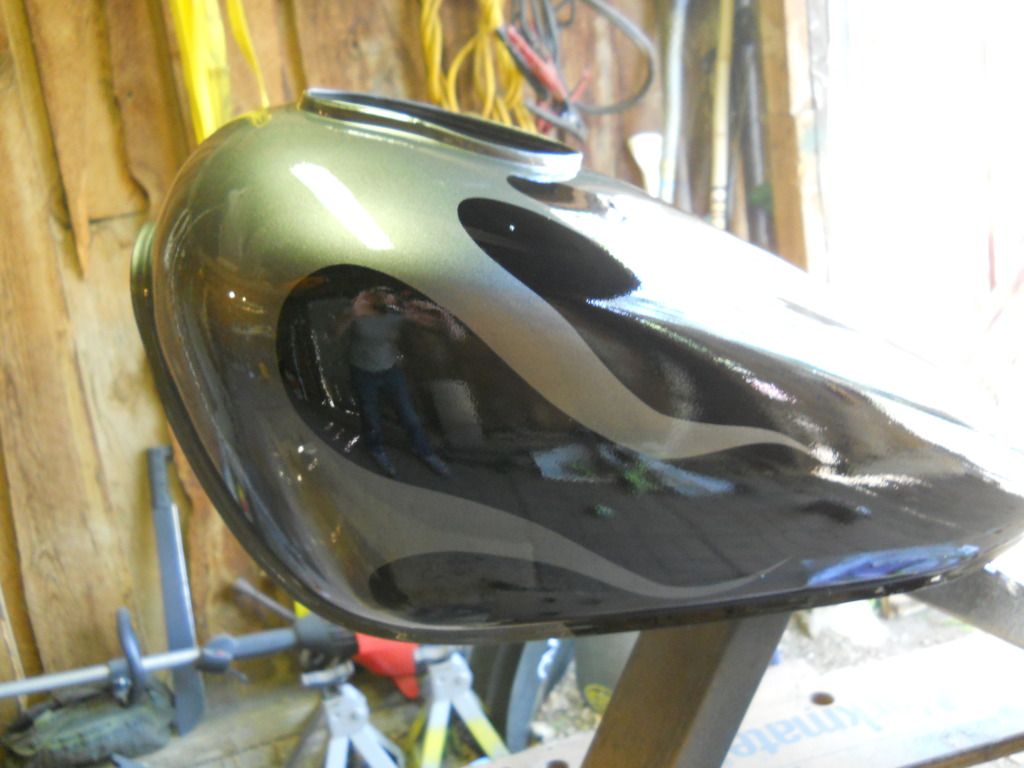
Any imperfections I can rub out by hand after the tank cures for several weeks , most of the time it just isnt neccesary. the mild orange peel will lay down as it drys.
I'll post a pic of it on the bike in a couple days , I am happy with the results and feel anyone can achieve respectable results.
"D"

 Pages: 1

