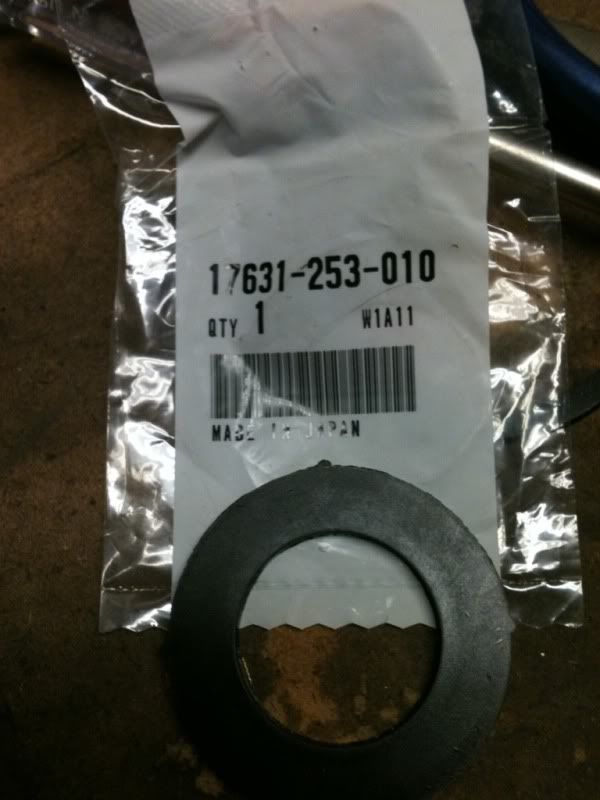
Please note the consensus, after much trial and error: The Honda and Suzuki gaskets are about the same thickness. Replacing with the Honda gasket can fix it temporarily, just by virtue of being a fresh gasket, but probably not much better than a new stock gasket.
Rotating or flipping the stock gasket fixes the leak on some caps, but again, probably not for good. I imagine it will eventually pack down and get loose again.
The spud washer is thicker than stock, but not always made of a gas-resistant rubber, so you have to treat it with gasket dressing to be sure it won't swell or dissolve on you.
The best options seem to do that (use a spud washer and treat it) or shim up the Honda or Suzuki gasket somehow. It is not necessary to roll your own gasket. If you go with the Honda gasket, the part number is 17631-253-010.  Tjfisher wrote on 08/12/11 at 07:10:01:
 ..so far so good on the fix no issues as of now and I don't see any in the near further
Thanks Tjfisher for the tip.

If you'd still like to make your own gasket, read on..
=====================
Yes folks, this is how it's done. A little trick critically acclaimed as "one of the best and simplest mods available"

And it really is simple, so simple even
I can do it.. and you guys have seen me screw up stuff so simple a monkey could do better.
The hardest part is sourcing the gasket. Luckily I have a plumbing shop nearby, one of those warehouses where only the old codgers who work there can find anything. They let me wander aimlessly around with my cracked, too-thin stock gasket in hand until I found a suitable replacement. It turns out that replacement is called a 3/4" spud washer. Why it's called 3/4" I don't know. There is nothing 3/4" about it. These are the gaskets that fit onto "spuds" which in plumbing parlance are the fittings that connect wall-mounted toilet tanks (or urinals) to the water supply.
I THINK (but don't know for sure, will edit later) that
this washer is it.
NOTE: The gaskets are only 79 cents but they are charging $8.45 to ship(!) At that rate, you might want to do a small batch of gaskets, order a dozen or so stuffed into the same box. We need a guinea pig to order one and let us know if it's the correct dimensions. Or if someone can find someplace that does not require you to buy 100 of them packed in $8.45 worth of whale lard from China, let us know.
So once you have the right spud washer, it should look about like this one:

Verify the dimensions. The outer diameter looks about 2 1/8"

The inner diameter is roughly 1 3/16"

And the thickness of the disc part of the gasket is about 5/32"

Take a sharp new x-acto blade and slice off the flange, holding the blade flat against the "washer" part.

At this point the gasket is probably good enough to install, and if you don't feel like buffing it down perfectly flat.. don't.

But noOoOOooo, Mr. Brilliant must have it PERFECT! Yes, the gasket nazi
suffers for his gaskets, risking life and fingernail..

Well anyway, just keep the gasket moving and your fingers clear, and this takes almost no time at all.

They really do look good, fresh off the sander. Rinse all the little rubber crumbs off the gasket so they don't end up in your tank.

Ok, so time to install this thing and start enjoying gas-free pants. Take out your gas cap and remove the two screws that hold the lock cylinder cover on. Onion not required (it will reek enough to your wife's dismay as-is).

Remove that little bezel, pry out the old gasket, and replace it with your new SUPERGASKET

Note how the six nubs around the inside of the cap squeeze the gasket tight against the lock cylinder and plumps it up. The rubber is fully bound from three sides and ready to put sufficient pressure against the tank, and not leak a drop.


That's it.. put the bezel and black cover back on with the two screws, and go fill up your bike knowing the cap will seal like it's supposed to.

