There has been alot of postings about footpegs latley, so I thought I would add my 2 cents.
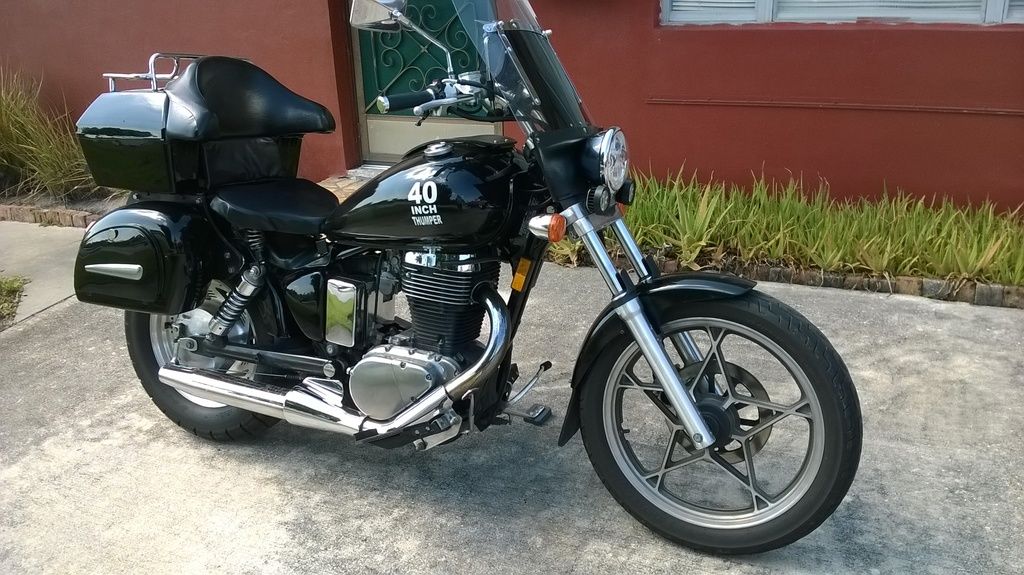
I do a lot of long solo trips, so I have time to think-up stuff that works for me, weather it works for you is anyones guess. I have a FAT tank, 4.5 gals.(thank you Smokin Blue for that idea) and my legs have to bend in to reach the pegs. So I built some wider footboards mostly out of stuff I had laying around. Pictures first, then details. (that way if your not intersted you can skip the boring stuff)


Now if your interested, here is how to make them.
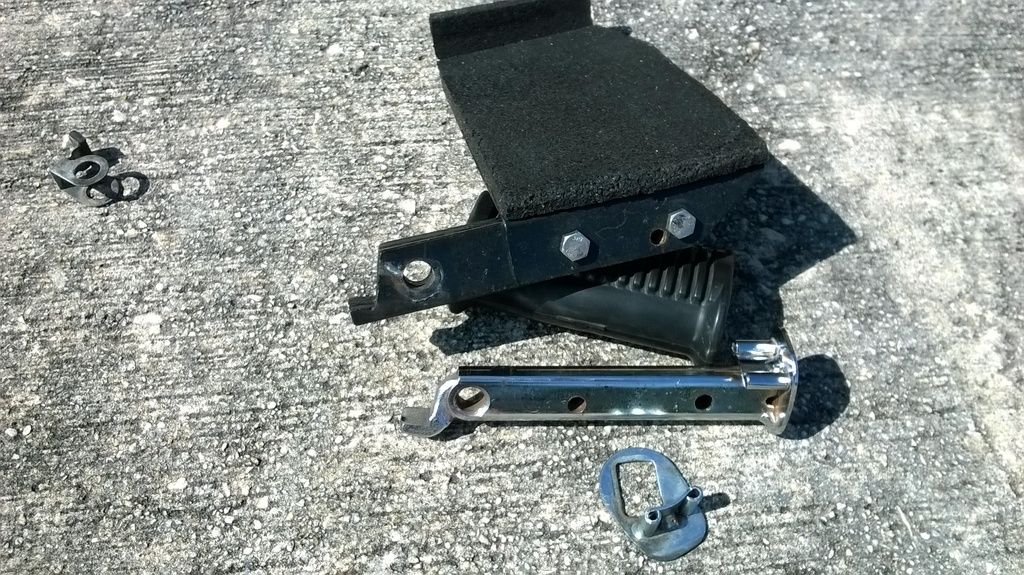
The main peg is 2 pieces of 1/4'' x 1'' x 7''steel from H Depot. bolted together for each side. This is about 1'' wider than stock, and you can hang your foot over cause there is no lip on the end. Drill the hole for the pivot bolt and make the inside cut to match the stock pegs with a 4 1/2'' cut-off wheel. Put a taper on the outside to cut down on dragging.
The flat part is .064'' thick steel I had from a old fireplace I fixed of all things. I cut it 4'' x 9'' and bent it in the vice with a big hammer into a ''z'' shape 1'' x 7'' x 1''.
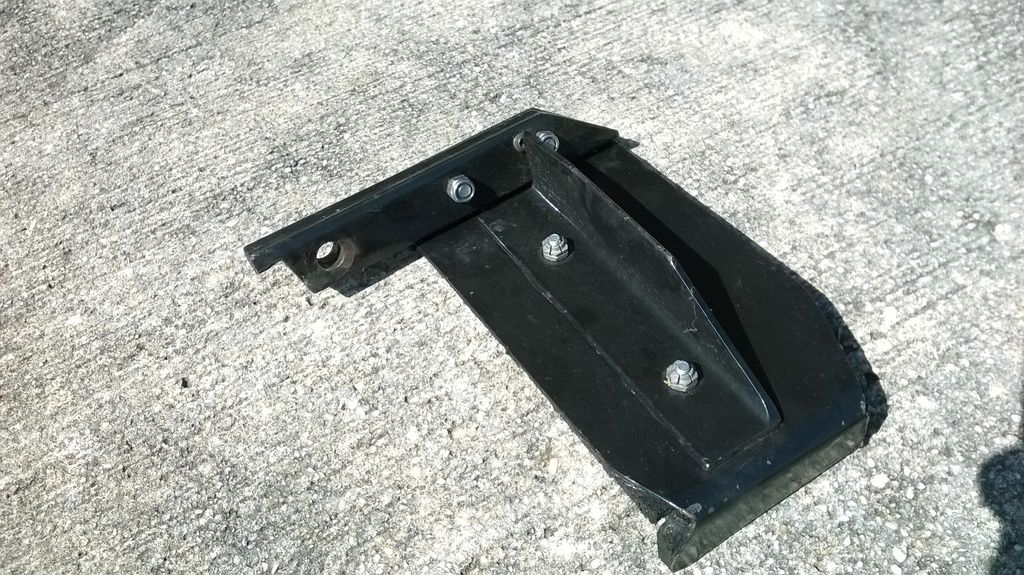
Clamp one end over the new peg and drill 2 holes for bolts to hold things together. I used M6 ss bolts.
Now mount them on the bike and bend the flat part to whatever angle you think fits you, you will be able to fine tune it later.
Take them off and cut a piece of small angle iron to fit the bottoms, these are stiffeners(I used some from a old bed frame). Cut the end that butts up against the new ''peg'' to as close a angle as you can. Now bolt them to the bottom of boards in the middle with flat head bolts.
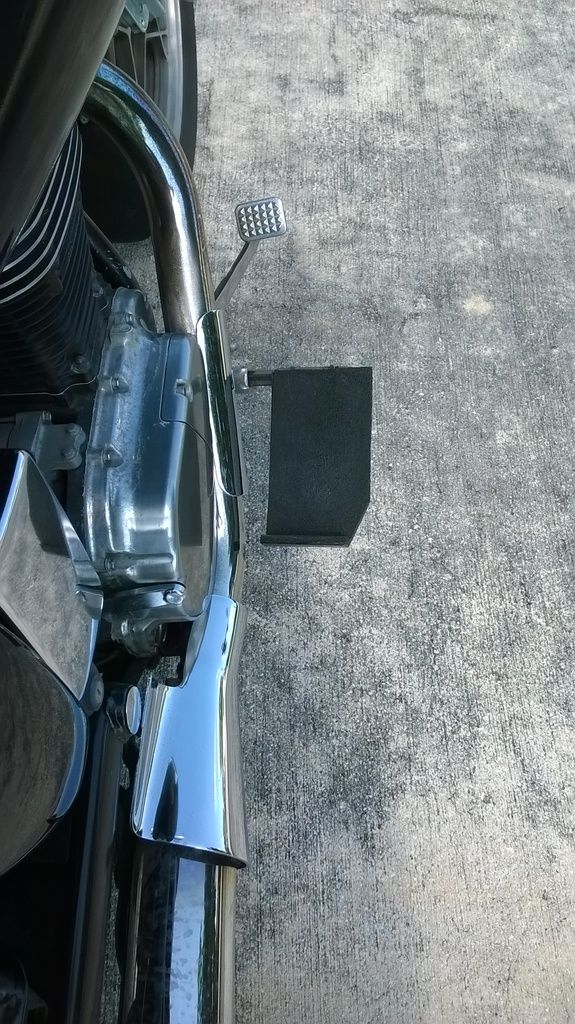
Now if you saw the small hole in the middle of the front this is what it's for, a set screw to adjust the angle! Drill and tap it to meet the downward part of the stiffener. I used a M8 x 1.25 but whatever you have around will work just as well.
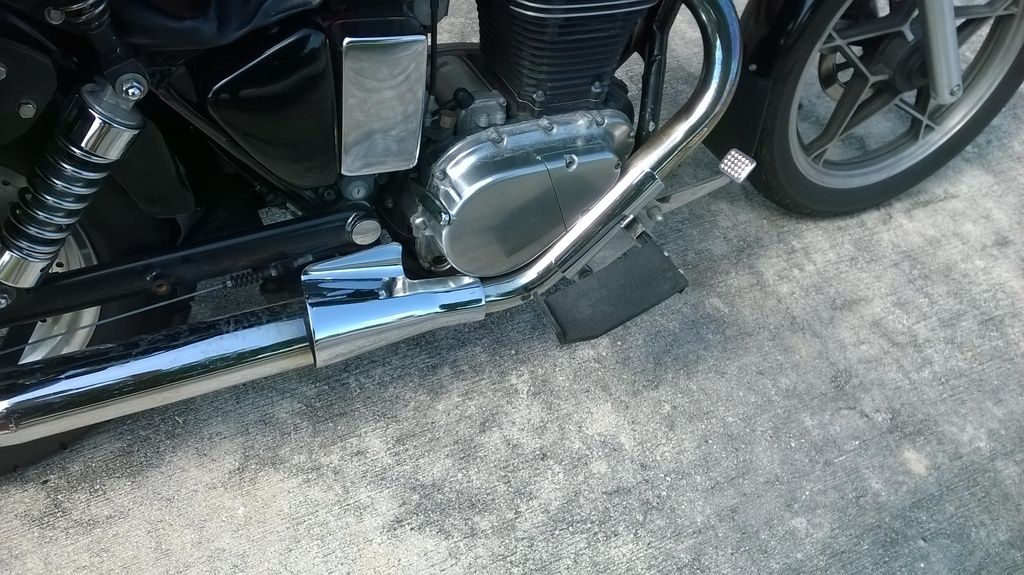
Now after you have them adjusted, mount them and stand on them with your full weight to show their solid, you might have to trim the back inside corner of the left one to clear the kickstand and the outside corners for cornering clearance.
I had some 1/4'' rubber pad I cut to fit and glued on after painting, you can use whatever you have or can beg, borrow, or steal. I guess you could use carpet if you like, maybe some astroturf.
I have about 4k on them so far and have not even thought about going back to pegs.
The 3' bar of steel cost me 9-10 bucks and about $6 in bolts. I had the rest of the stuff laying around. So for $16 my feet are very happy now.

 Pages: 1

