well I finally dove into my seat. I tried to take pictures along the way but got caught up trying to make things work so not a lot of pictures of the process, but...
first, I pulled the cover and foam off the stock seat pan. pretty easy, just unbolt leather strap and pull staples. I saved the foam and cover just in case

here it sits on my bike.
then I gathered supplies. I tried to use what I had available but had to order some material. I got some vinyl that was already diamond stitched with a little foam backing. for the seat foam I bought $5 worth of carpet padding from local shop and some upholstery/project foam(1") from wally world for a few $$. I already had some plain vinyl fabric from previous job to use on the sides.
For the padding, I measured the widest part of the pan and cut a couple strips and laid them on the pan, then cut some smaller pieces to build up the "hump" for the king queen seat. really this was all guess work and a lot of trial and error. I used some spray adhesive once I figured out what pieces I wanted.

and I would suggest something besides scissors and razor blades for cutting. but thats what I had. heres in the middle of cutting the shape. also, notice its a whole lot wider at the top. I tried to taper it like the original so my wife could have a cushy 8 inches on top. (also used some cardboard for a makeshift template so I could keep an idea of the side profile)

...and then some foam layers on top for the misses. very rough but was able to smooth out with some patience.

once I had the shape I thought I wanted I covered the foam in saran wrap. (here its also wrapped to the pan so I could put it on the bike for testing and it wouldnt slide around)

then the cover! this was tricky cause of the curves and tapering, but again patience helped! with the top layer, I cut a strip to the widest point (leaving plenty to be stitched) and put face down on ground. then carefully, using the pan and foam upside down, drew a template on the back of the fabric. same with sides but much easier. once I had a rough three pieces, I pinned them together and did an inside out test fit (also did this several times during the rest of the process

)

I would have liked to have had this done, but in the effort to save money, I did it myself. I also would have liked to have had a sewing machine to do this but didnt, and didnt want to borrow one from grandma and tear it up trying to sew a motorcycle seat!

so I opted for hand stitching it. this took a long time! but I did the whole seat over the course of 3-4 days. I just used a running stitch following my lines (and kept test fitting). the hardest part was at the last when doing the back. had a little slack in one corner but was able to make it work.


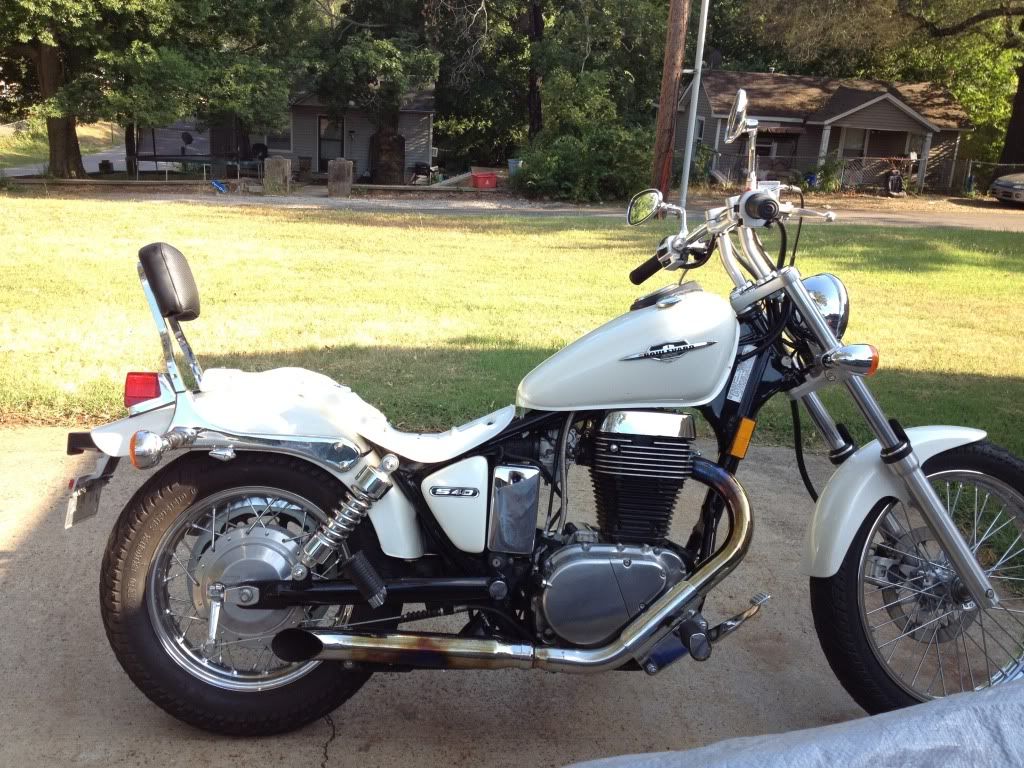
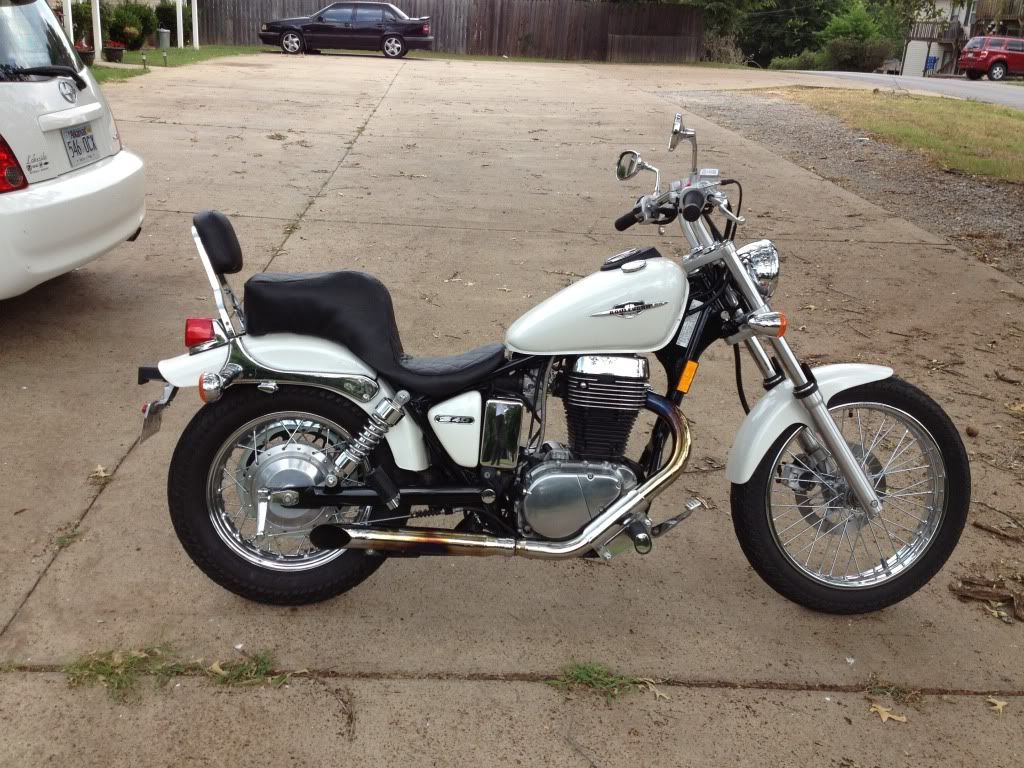
overall for the amount of money and time I have into it not bad. It is my first upholstery job (my last bike was just one piece of fabric stretched over the pan) here it is on my bike. I still have to do the matching sissy bar and pad. will hopefully have it done in the next couple days. just gonna use 1/2" steel rod bent with some mounts welded. plywood with pad and fabric. and then drill holes through to existing fender rails for mounting to the bike. also, when I was stretching the cover and stapling, I used some batting to fill out the sides so you cant see the layers and edges.
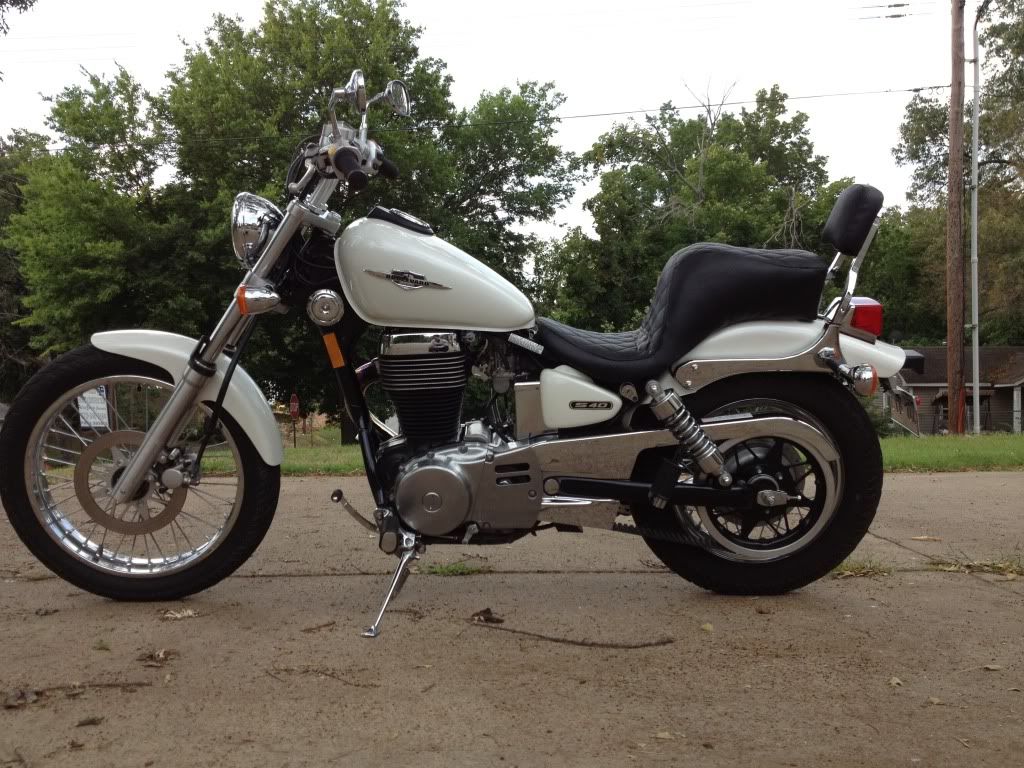

again: not a professional job, but it got the look I wanted, me lowered, my wife more comfortable and didnt cost me a whole lot. sorry for the long post. hope it encourages and helps anybody else wanting to reuse their seat pan!

 Pages: 1

