I finished designing and fabricating the mounts for my highway bar and driver backrest. I got them all cut and shaped and clamped, then went to my mechanic (who has been a friend for 20+ years), and he had one of his guys MIG weld them for me.
I took BabyHog's suggestion and got a sissy bar with pad off eBay($22 + $8 shipping) it had a 9" spread on the bottom, so it was the right fit to go over our fender and sit on the top of the side rails. I found some 1/8 " plate steel in the garage and went to a place in Houston called the "Metal Supermarket". and bought a 12" length of 3/4" square tube of 1/8 steel (for $3.25!), which left a 1/2 square inside, which was a great fit for the backrest legs. Once they were welded and shaped, I set them up along the front side rail bolts, decided what angle I wanted, and marked and drilled the sheets so when they were bolted in, the plate was on the outside and the square tube was inside, between the plate and the fender, with the bottom of the tube sitting on the side rail. I cut them off a little below the level of the seat. I did not bolt the backrest in, so I can get on and then put the seat in behind me.
And YES, I know this does not leave much room for a passenger. But lets be honest, with me at 325, there is not much likelihood of me carrying a passenger anyway.
The Highway Bar is mounted to a brace made from heavy duty angle steel, bent to a pair of right angles, welded top & bottom, and bolted to two holes drilled into the side plates from the Ed L forward control kit.
I will probably replace the pegs on the Highway bar (I got it from eBay as well). I need for the pegs to be another few inches forward, so if anyone has any suggestions for what to use, or how to do that, please feel free to suggest.
Backrest in place 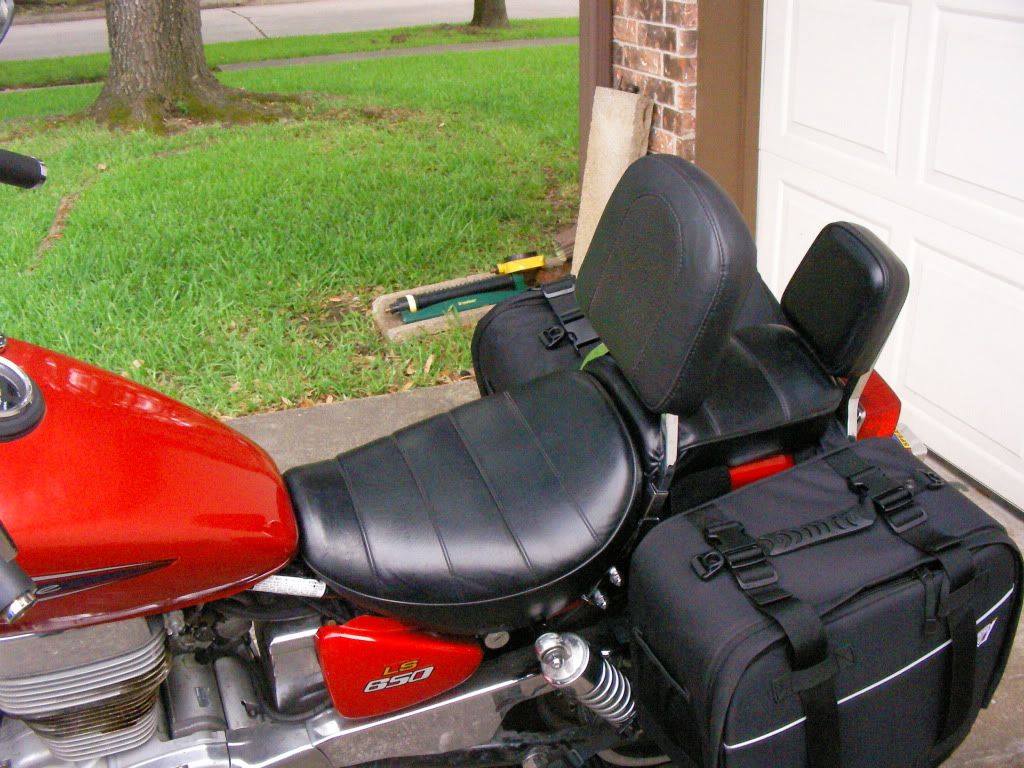 Right mount
 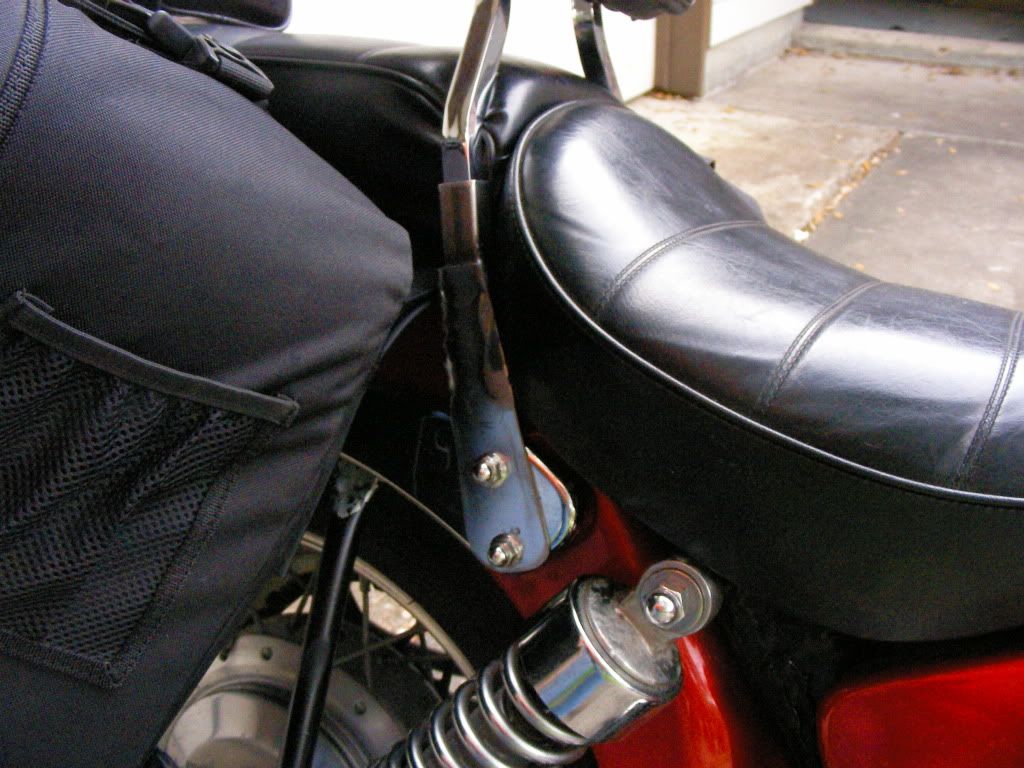 Left Mount
 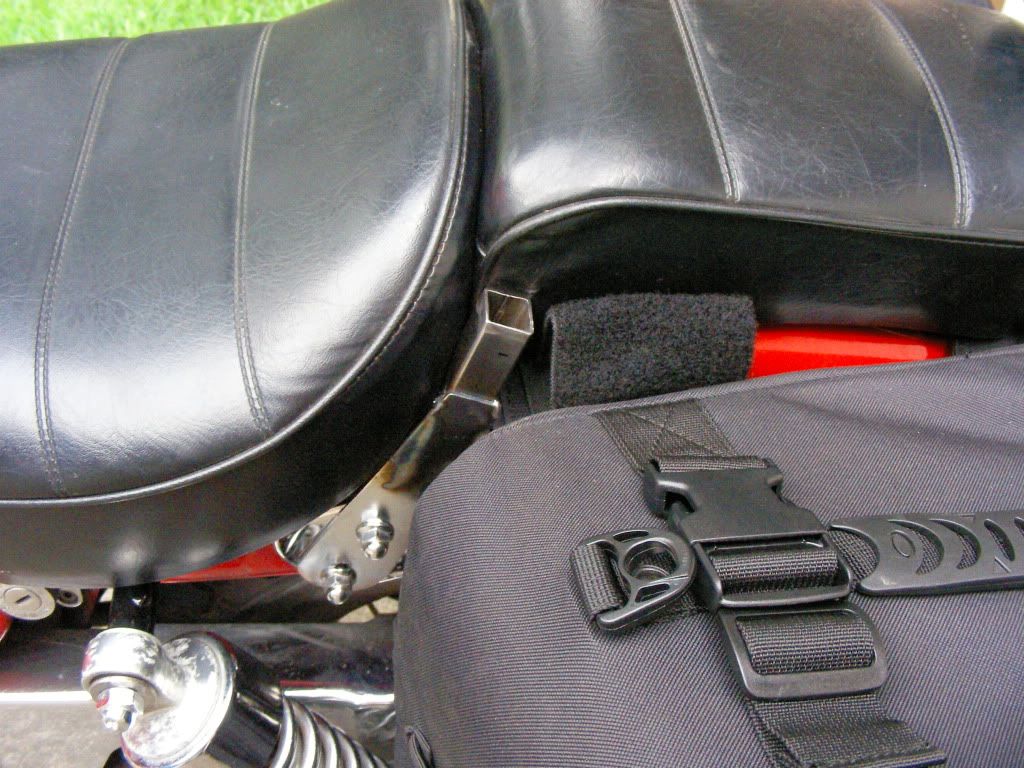 Highway Bar Mount
 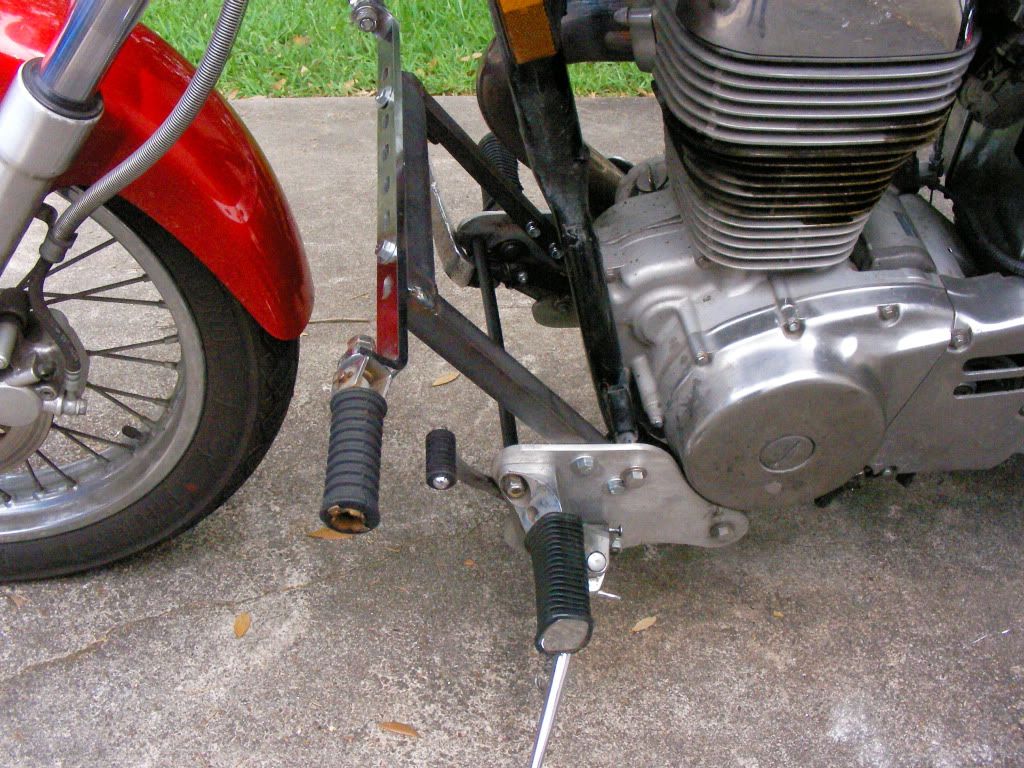 Peg Spacing
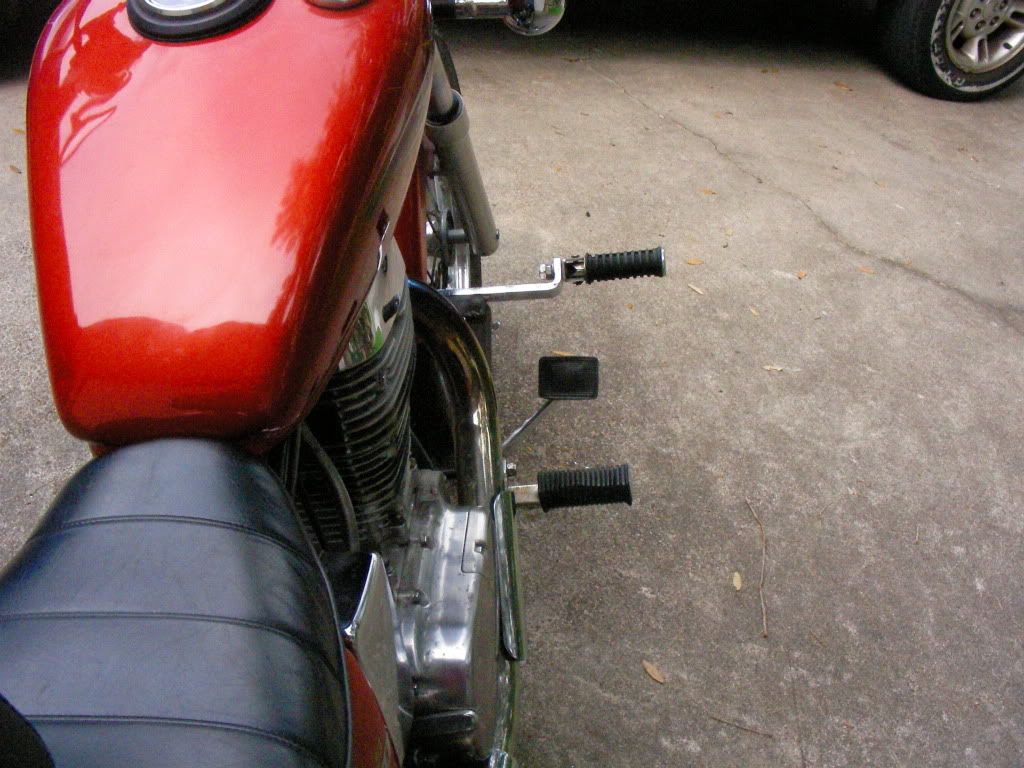

 Pages: 1

