Step 11
There are two car clamps. And if someones messed with your bike previously (as with mine) the screws might not be on the same side. I had the screw of the front clamp on the left, and the other screw on the right side of the bike pushing a hole in the plastic chrome covered battery cover. (grrrrrrrr
)
Step12
Now, if you dont mind spilling a little gasoline here and there, you dont need to do the following step.
I myself get extremely nauseous of the smell of gasoline so I make sure not to spill any.
Hold a little bowl underneath the float bowl drain, and remove the screw.
Its just a small amount of gas that pours out (2 or 3 ounces).
You might want to take a look in the little bowl you used, cause if there are some metal slivers or other junk in it you might not want to pour it with the rest.
Step 13
Now here comes the FUN!
Not really! I ran into some trouble here.
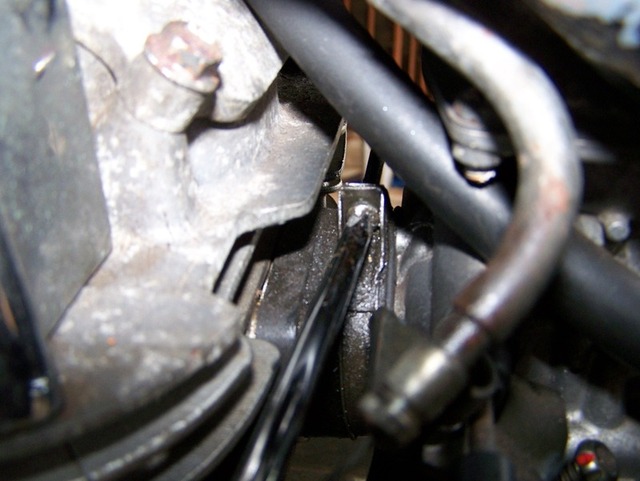
Clymers said to pull the carb back towards the rear of the bike and twist it out.
Well
..! I had about 1/8 inch of space. That sure didnt help. I ended up scrunching the rubber thingy where the carb was attached, and tried it then, no luck.
After a bunch of wiggling I decided to take of the chromed plastic battery top cover, and loosen up the battery casing, hoping to gain a little more room. (of course I had to remove the tool box and battery first (no picture
I was too annoyed at the time being).
That helped! I was able to get the carb out!
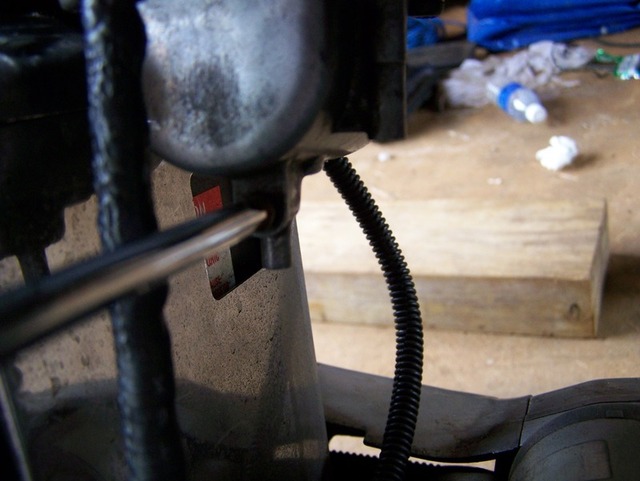
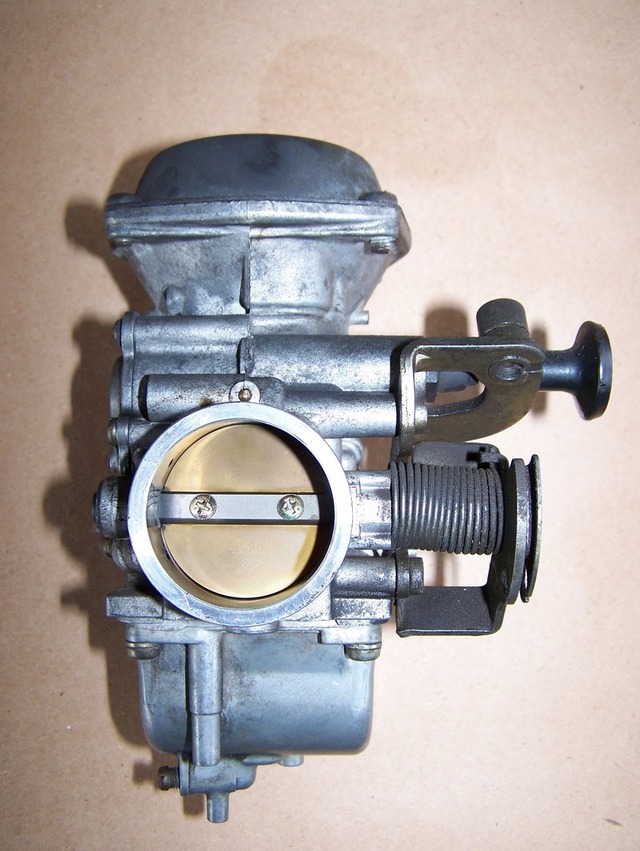
LITTLE ADDENDUM, I discovered (having to take out out again) that it's a heck of a lot easier to take the carb out if the top is removed first (take out diaphragm too, so you don't accidentally damage it) So this is what it looks like!
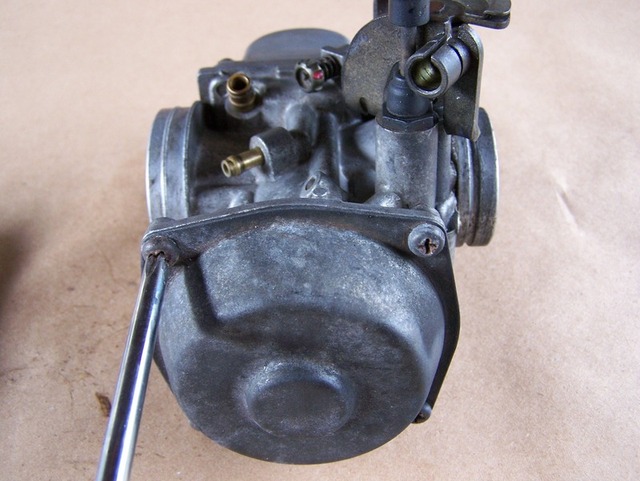
Step 14
Next remove the 4 screws on top of the carburetor, (those are pretty tight I take it Loctite was used to keep it that way), put them on the papered table and mark where they came from. Lift off top and remove gasket, put those on the paper too.
Step 15
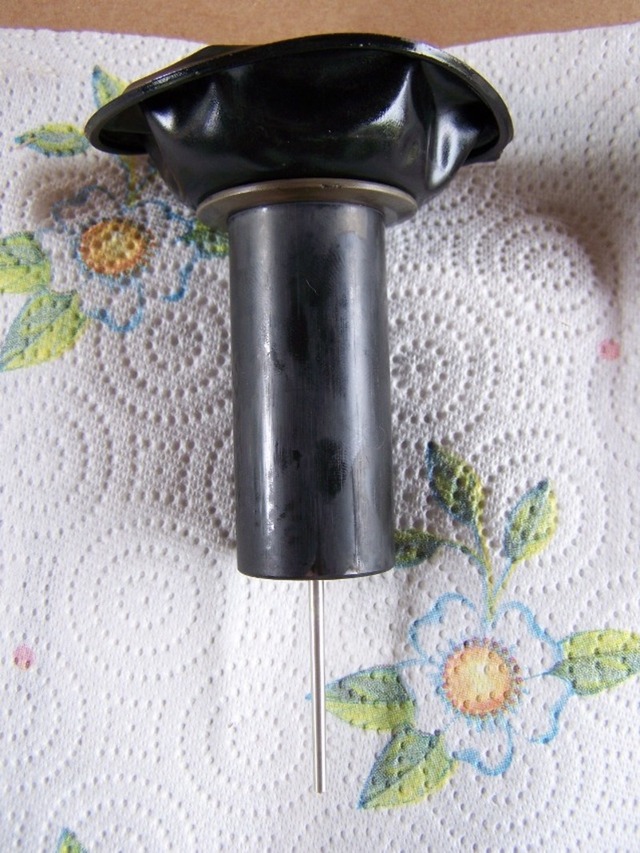
If you look closely youll see that the diaphragm (utterly weird looking rubber thingy) has a little lip on it, gently peel of the rim and lift up gasket. It will still have the needle attached to it.
Step 16a
Remove pilot air jet (if you are not replacing it place on paper)
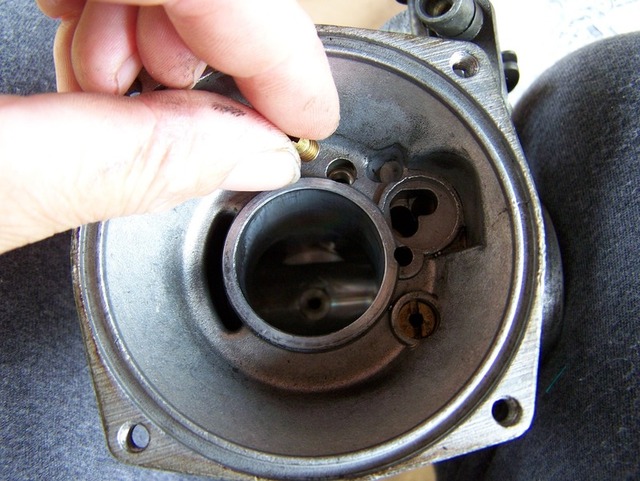
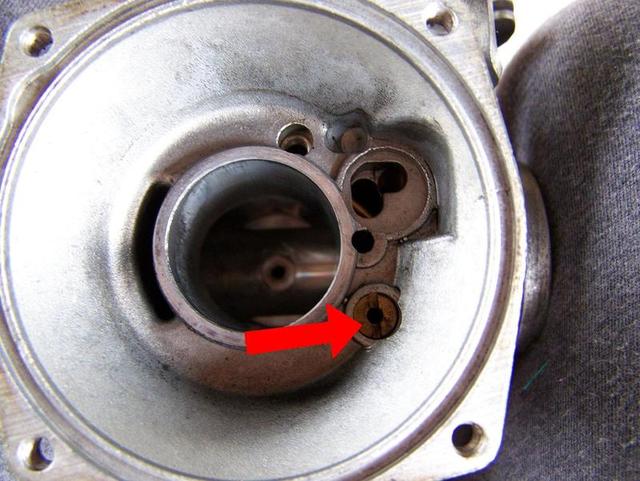
Step 16b
Now here is where I looked at the Clymers manual till I could see no more.
The carburetor they have does not have this next THING.
It looks like a jet but I dont think it is. It has a big hole in it, not even tapered like a jet, so I have no clue about this one. The manual shows just a hole in the carburetor where this thing is. Still, I took it out and marked it on the paper.
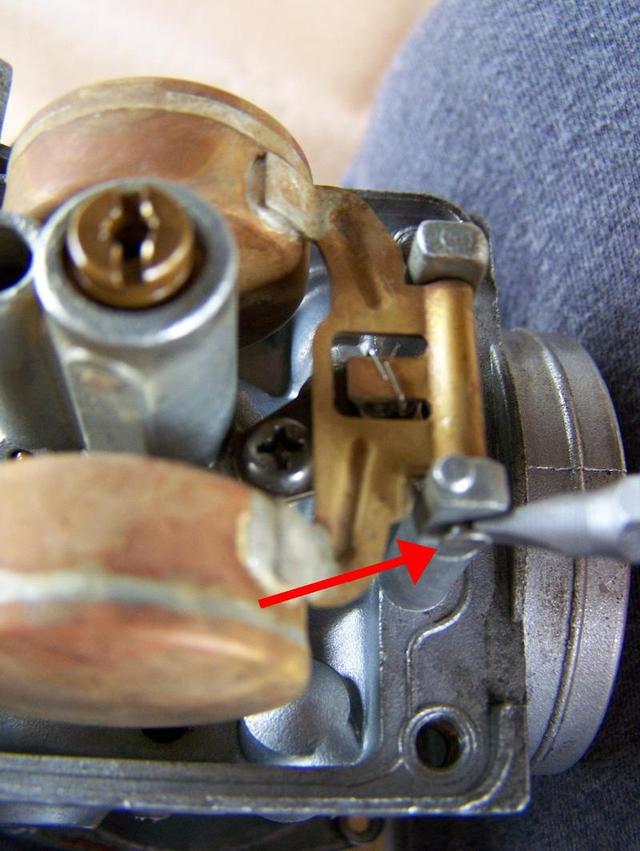
Step 17
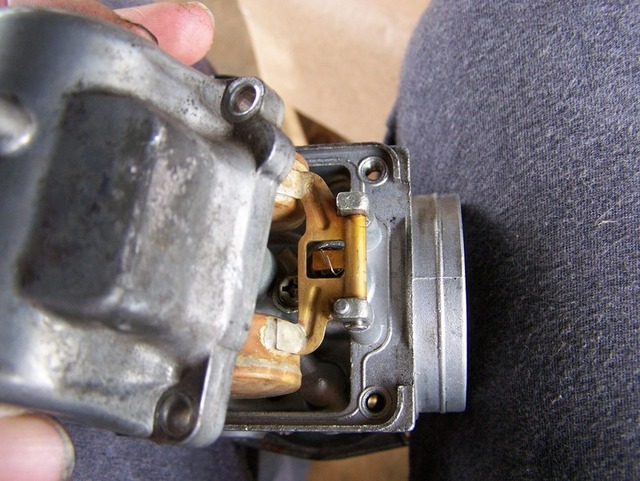
Turn carburetor upside down and remove the 4 screws the hold the float bowl on.
Same here, mark on the paper where they are from.
Step 18
Remove floater pivot pin. This thing was really suck on mine, and gently trying to pry it with a flathead screw driver didnt work. I ended up using some WD-40, (that worked).
Definitely put this on paper and TAPE it down, you have no idea how easily this thing disappears!!
Next lift up the float and pin.
This is what they look like


 Pages: 1

