So, you've noticed signs of a leaky fork seal. You may be thinking that you are now obligated to tear the fork apart and replace the offending seal, but there is a relatively quick procedure that you should try first, BEFORE getting the wrenches out. This contention is based on the conjecture that many fork leaks are caused by the presence of debris at the fork seal's sealing surfaces, thereby creating one or more paths for fork fluid to escape. This procedure will show you how to make a decent attempt at removing said debris, should same be present. In a nutshell, I will be using a thin piece of plastic to do this.
Side note: If the port fork is the one with the leaky seal, this is not a situation you should tolerate for long. The leaking fluid (which is a type of oil) could easily befoul the brake pads. And, once said brake pads have been contaminated with fork fluid, you can consider them tra$hed DAMHIK!Note that the procedure I'm fixin' to spell out is for
my bike (see my signature block for information about my bike). I guess that, at some point
after the 2001 models were manufactured, Suzuki added fork protectors to the tops of the fork sliders. I'm not sure if the presence of said fork protectors interferes in any way with the procedure that I detail below, but if they
do get in the way, PERHAPS the information in
this thread will be of assistance....not sure....
In any event, first clean the leaking fluid and associated dirt/grime away from the area around the leaky fork's dust seal:
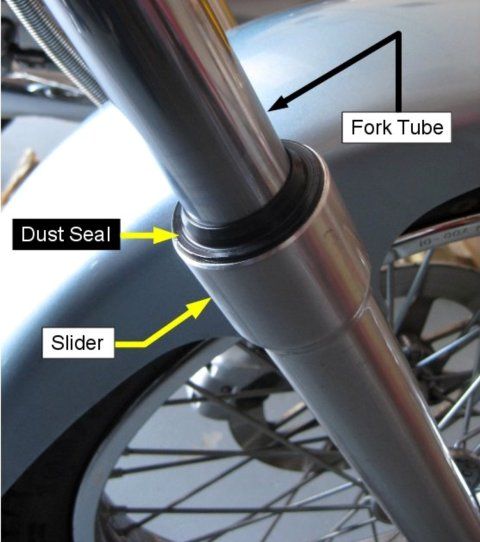
As in most mechanical work, cleanliness is next to godliness here. Take particular care, at this point, to clean the section of fork tube between the slider and the lower triple clamp well. If you notice any
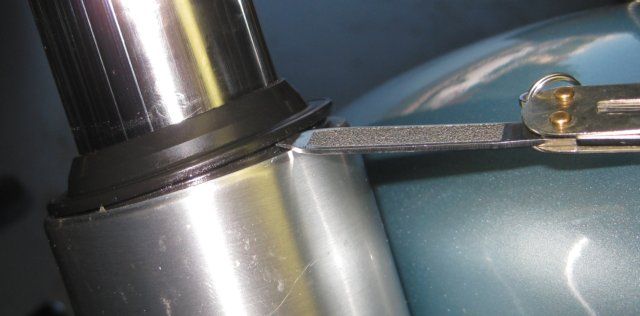
tiny nicks, gouges, and/or scratches on said fork tube, note that I've had good luck in the past dressing these out using a
fine Arkansas honing stone. (If you notice any imperfections bigger than tiny, then you're on your own!)
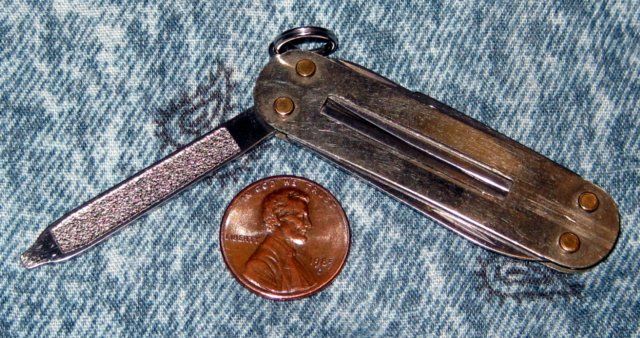
Next, use a non-sharp-edged pry tool of some sort (I keep a nasty old small Victorinox Swiss army pocketknife (that the plastic housing has long fallen off of) around the garage that features a flat-blade screwdriver that is perfect for this task) to carefully pry the dust seal away from the slider:
After you get said dust seal started, it should easily separate from the slider. Slide said dust seal up the fork tube and out of the way.
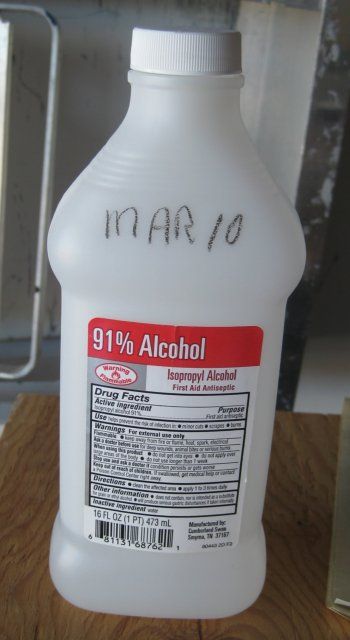
Now is a good time to clean the just-removed dust seal. Grab you a clean, dry, absorbent rag and wipe off any oil and/or grime from said dust seal. Next, grab you another clean, absorbent rag and moisten same with some of your rubber-safe solvent of choice (I use iso alcohol here):
Using said moistened rag, give said dust seal another good wipe down. To clean said dust seal's sealing lips, grab you a
thin, clean rag, and again moisten same with your solvent. Now, carefully clean said dust seal, to include said seal's sealing lips:
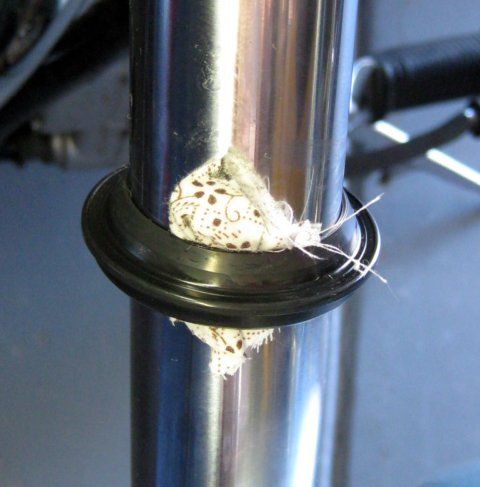
Using the aforementioned pocketknife's screwdriver blade, it is quite easy to get the rag through the dust seal. When done, make sure you remove any threads the rag may have left behind.
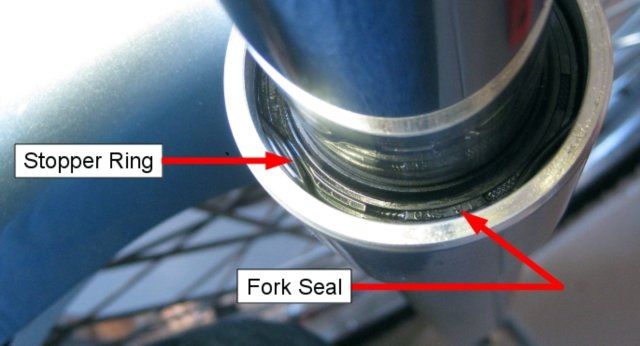
Clean the area above and around the now-exposed upper-most face of the fork seal:
I start by wiping the area down using a clean, dry, absorbent rag.
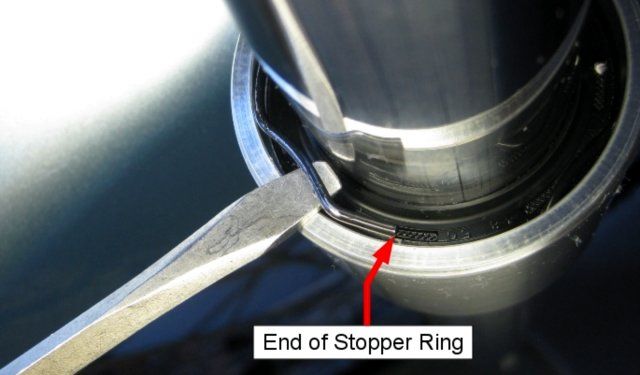
Now, this next step is purely optional, I believe, but I like to do it because it allows me to clean the area up a little better. Using a dull, flat-blade screwdriver (I keep one of these around because, like me, it ain't much good for screwing anymore but still has lots of other arcane purposes), pry out the fork seal's wire stopper ring (note that said stopper ring has three areas where you can easily insert a screwdriver tip, but only two of these areas are adjacent to one of the stopper ring's ends you want to pry the stopper ring near one of these ends):
There is no need, at this point, to remove said stopper ring from the fork tube. Merely wipe it clean using a clean, dry, absorbent rag. You can now temp stow said stopper ring above the recently cleaned dust seal:
Now, wipe the fork seal and the adjacent area clean again, using another clean, dry, absorbent rag.
Whether or not you removed the stopper ring, clean the top of the fork seal and the area around it using a clean, absorbent rag moistened with your aforementioned solvent of choice. This is an important step, so do it well! When done, it wouldn't hurt to give the area one or two careful little toots of compress air.
OK, you've done your prep work, now it's go time!
You will be attempting to clean out from the subject fork seal's sealing lips any debris that may be facilitating your leak. Back in the old days, we used to do this using a length of 35mm camera film. Nowadays, we have other options. I'll be using the
Seal Mate tool that I picked up at my local motorcycle shop a few years ago (note that the above link has lots of info and a video explaining the use of this tool). Also worthy of mention is the Risk Racing
Seal Doctor, which received rave reviews from Motorcycle Consumer News in their April 2013 issue.
Here is a look at my Seal Mate tool, along with its included instructions:
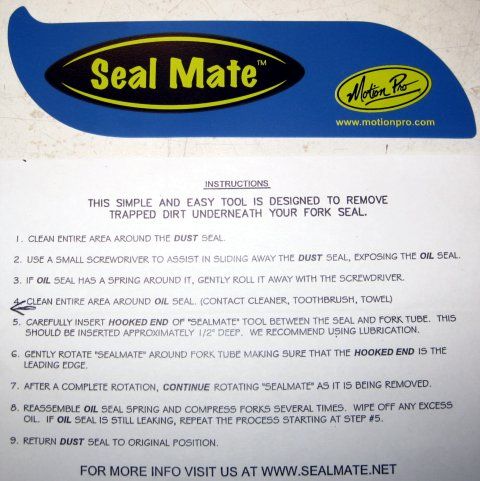
Just follow the tool's instructions (see above). I use
Race Tech Ultra Slick Seal Grease as a lubricant, but I'm sure that silicone spray lubricant or fork oil would work just fine.
Happily, the recommended ½ of tool penetration happens to coincide with the edge of the Seal Mate logo on my Seal Mate tool:
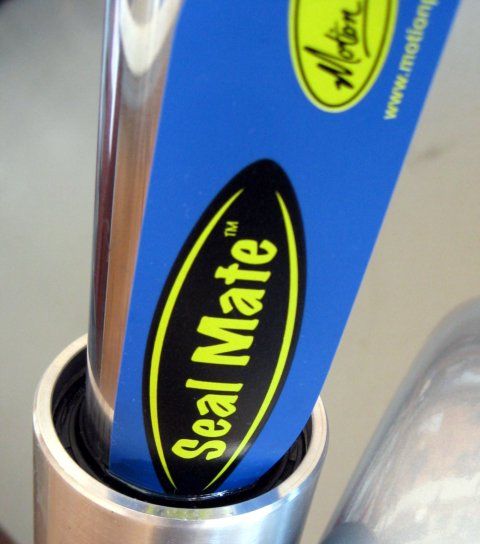
Note that, in my case, the space between the fork tube and the fork seal's sealing lips was a rather tight fit, making it harder to work the Seal Mate tool around the fork tube than what was shown on the aforementioned video. I had to use care not to bend the rather flimsy Seal Mate tool.
If you don't see any discernible solid debris on the tool after you remove same, don't despair (I didn't see any dirt on the Seal Mate, but the procedure seems to have fixed the fork leak (for now) yay!).
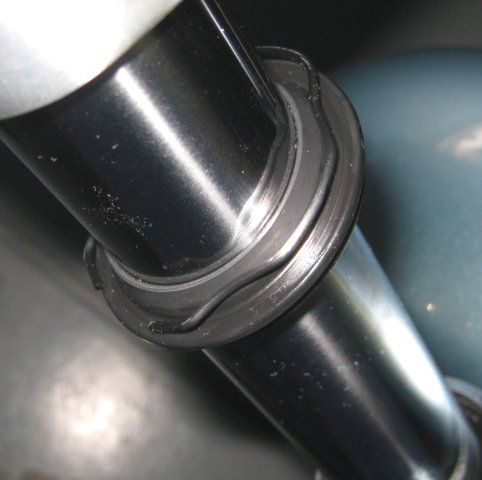
Before cycling the forks to see of the leak is stopped, reinstall the wire stopper ring (IAW the instructions)!!! It is possible that said pumping action will move the fork seal up a bit, thus making it impossible to reinstall said stopper ring without re-seating the fork seal (DAMHIK!).
Note that said stopper ring should fit securely into its circumferential notch near the top of the subject fork slider.
Follow up with another cleaning of the top of the fork seal (as detailed above), reassemble, and go ride!

 Pages: 1

