Problem: Ive got a sore butt from the old stock seat and gel seats cost upwards of $200 to $300+, even used ones on e-bay, and Id rather keep that money as padding in my wallet thank you very much.
Solution; Gel the existing seat myself.
What I used:
Pliers (to pull the old staples out)
Flathead Screwdriver (to help pry up the staples)
A marker
Spray on Adhesive (I used 3M 77 spray)
Gel padding (I used the motorcycle pad from this company,
SHOCKtec, its a gel that doesnt need to be bagged) Standard size (12"x18") $34.95
Foam Padding for filler to smooth edges of the gel when it is on top of the seat, I used
SHOCKtec Air2Gel HD from the same company, 1/8" $16.60 half roll.
Scissors
Staple Gun
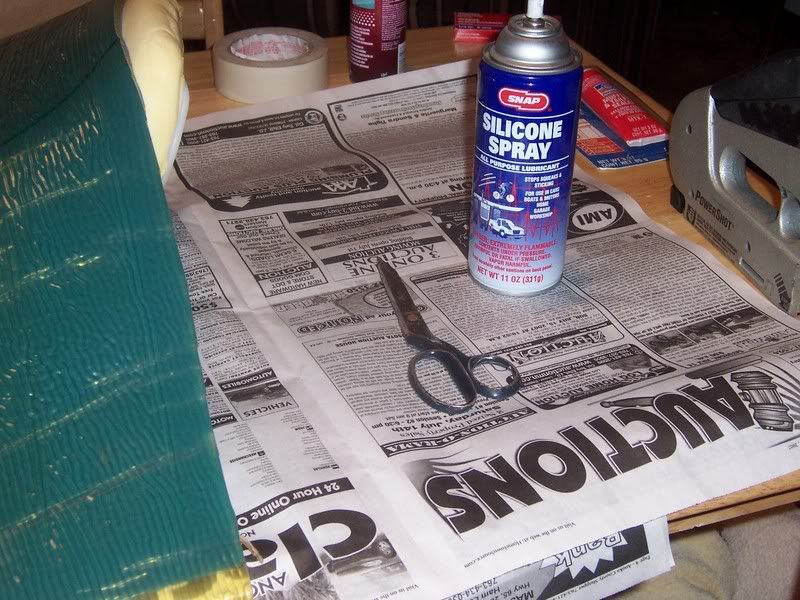
Silicone Spray (to spray on the scissor when you cut the gel padding, the SHOCKtec people were nice enough to tell me this little trick to make it easier to cut)
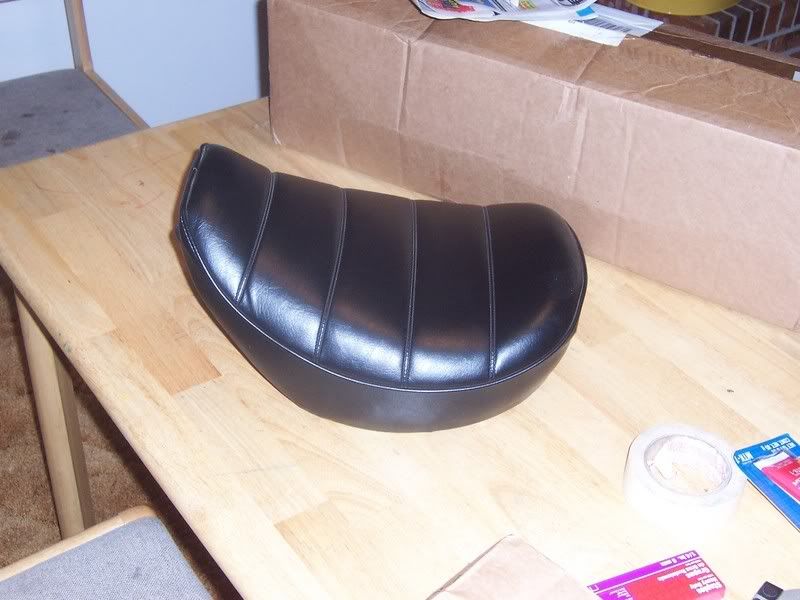
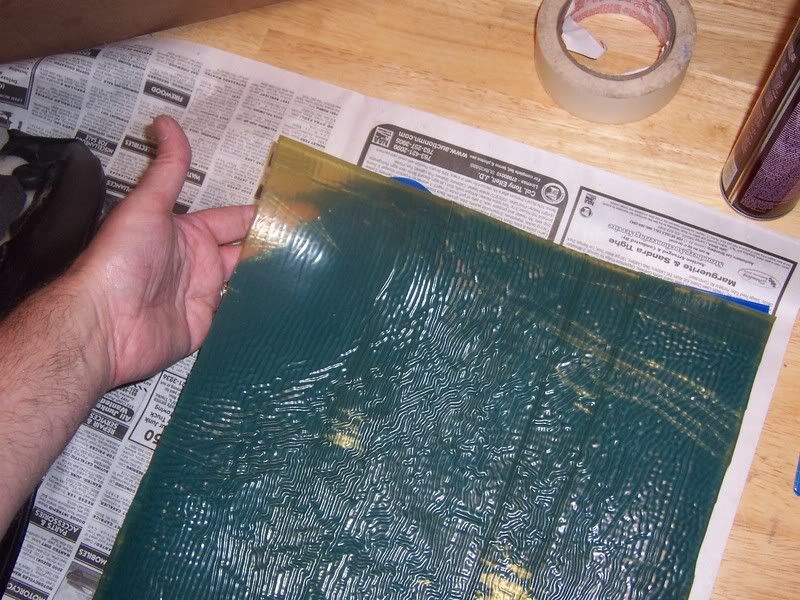
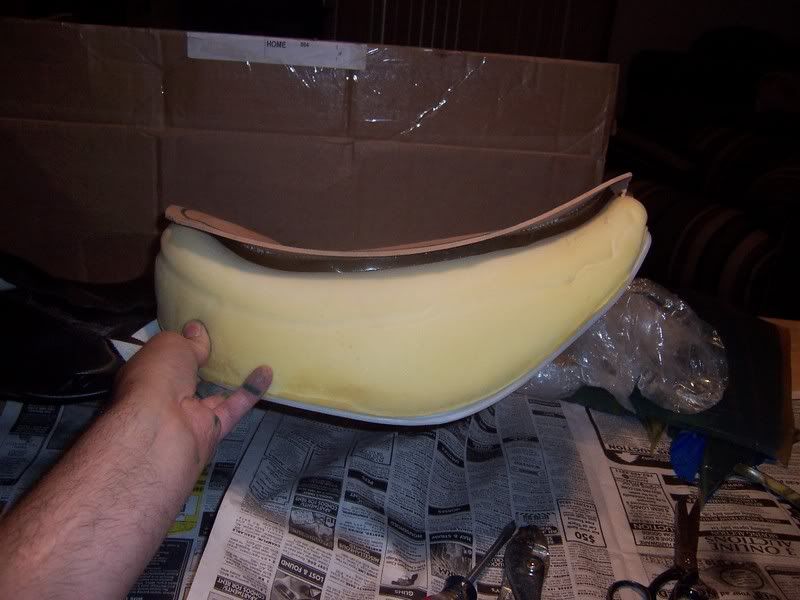
Heres the subject before the operation.
First I turned it over and marked where the cover was fitting now, I think I want to purposely leave it looser than those marks when I reattach it because it will have more padding under there and I dont want the cover to rip from holding down too much more padding.
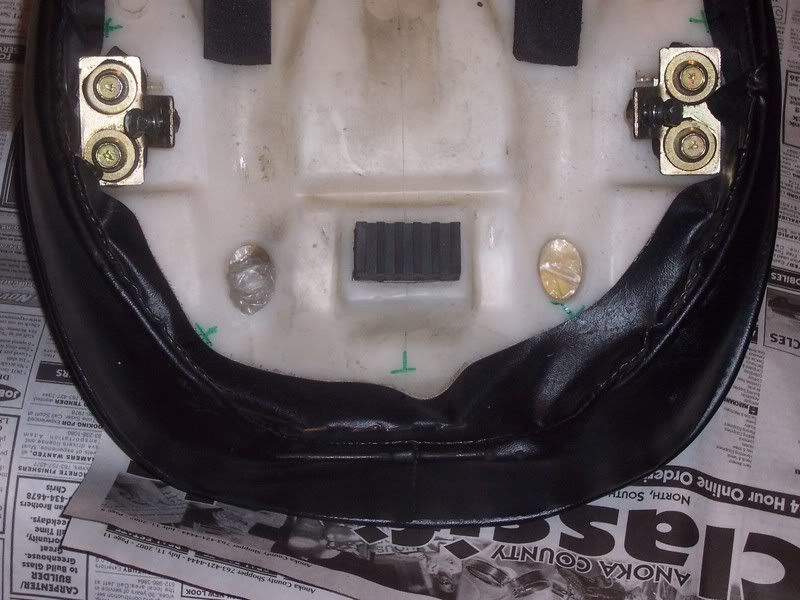
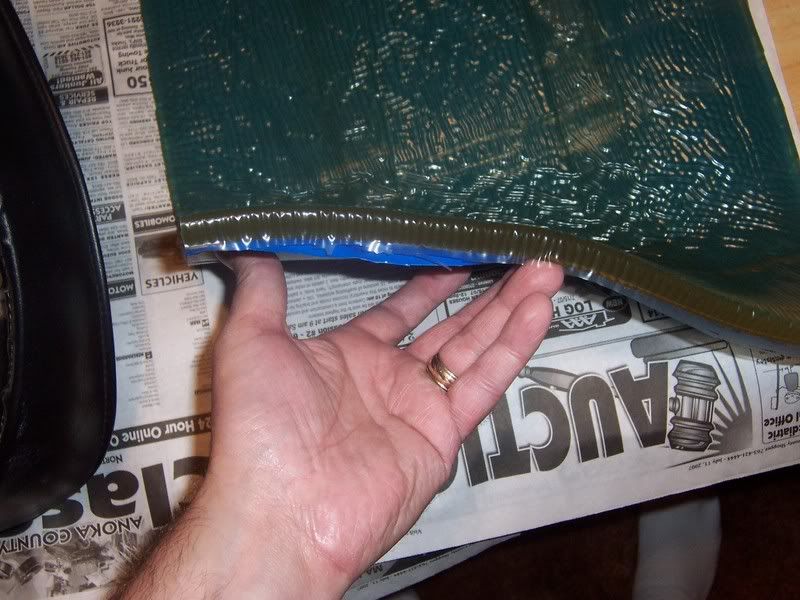
Pull the staples and remove the cover
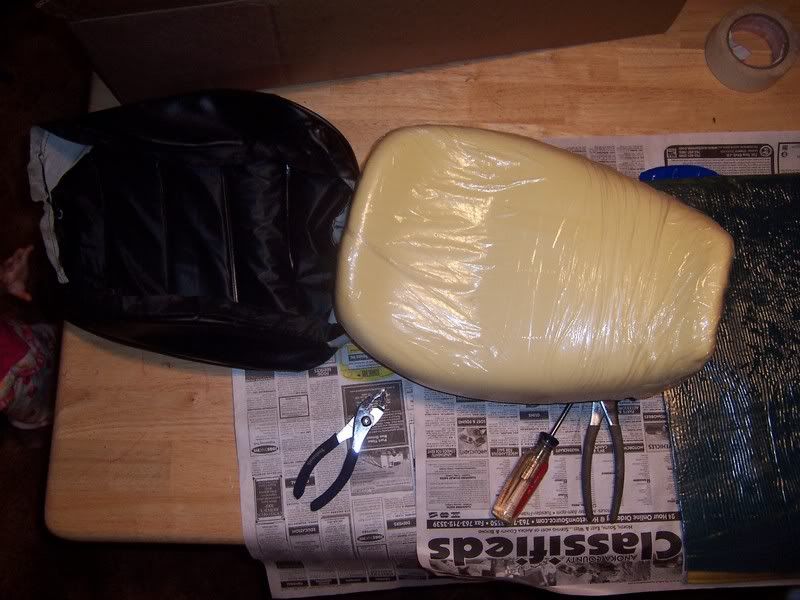
Pull up the pad and turn it over to remove the plastic baggy water protection
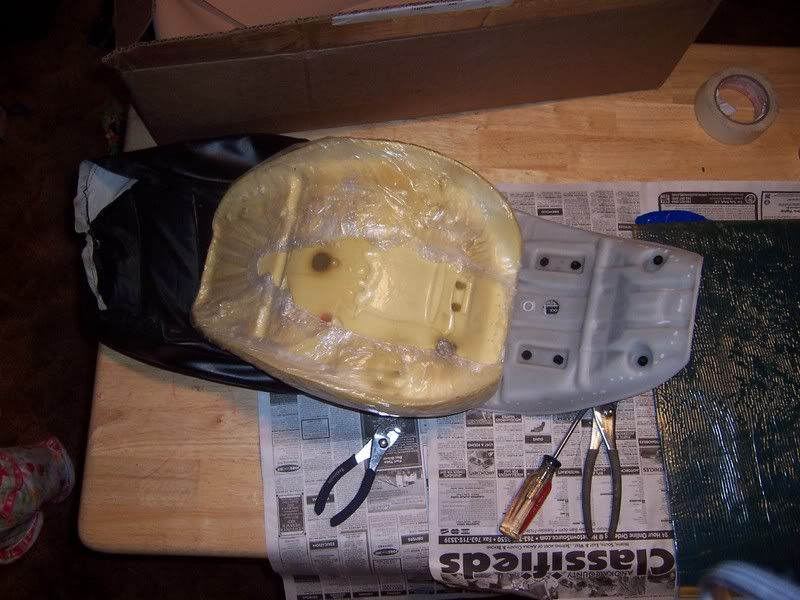
Cut Gel Padding to fit. I purposefully did NOT cover the back part of the seat that comes up. I stopped at the base of that ridge because I dont want the seat to be pushing me any farther forward when sitting on it, so I covered directly under my butt space and in front of it when I cut my egg shaped seat covering.
Tan foam:
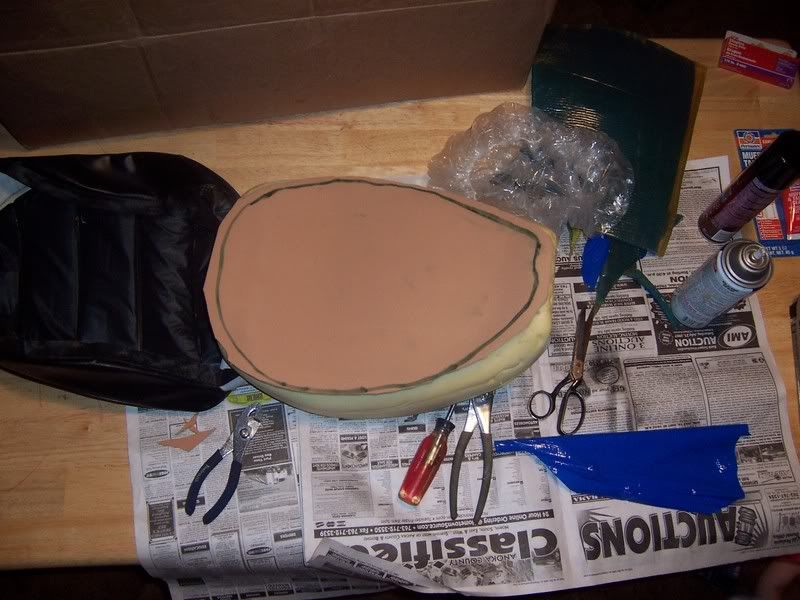
After I cut and re-cut the gel padding to the exact shape I wanted it I peeled off the blue plastic sheeting you can see in the pictures (the gel padding has some sticky glue under that sheet and it is there to help hold the pad in place, but I also sprayed the entire top of the foam seat with spay adhesive and then pushed the gel padding sticky side down on top of the seat.
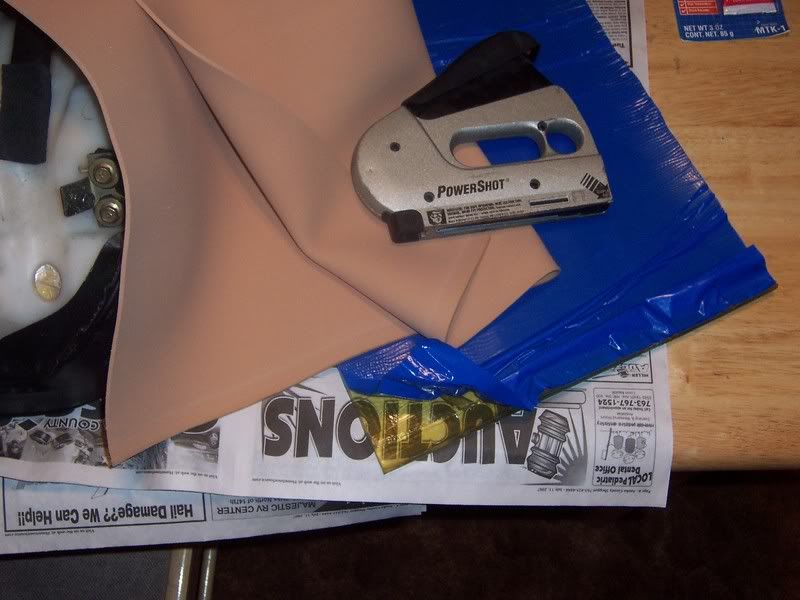
I then cut a larger oval of the tan 1/8 inch foam to cover the gel, I want it to overlap the gel under it so that it will round off the edges of the gel when under the seat cover. I sprayed both the gel padding top and the bottom of the foam with adhesive and stuck the foam on top
The green line shows you the size of the gel padding underneath so you could see the size difference between the two.
I then re-covered the seat with the water baggy shield and then the old seat cover, stapling it everywhere it was stapled before and making sure to not pull it all the way up to the old lines I had made to mark the old location, (will have to wait and see how long it lasts before it tears a hole and Ill just recover the seat with the leather from an old jacket or something like that
.
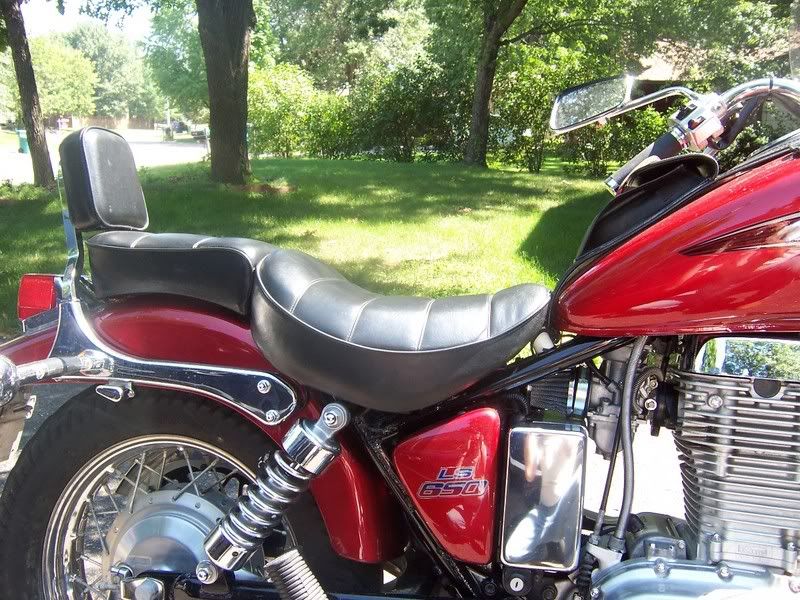
Heres my new and improved Gel Seat on the bike
I've got plenty of gel padding and foam padding left to do the back pad and sissy bar seat as well. Even though I bought the regualr seat pad size from SHOCKtec they sent me plenty of gel to get the job done, they were
extremely helpful on this as well, very courteous and very fast shipping to boot, I highly recomend their prodect and their customer service.

 Pages: 1

